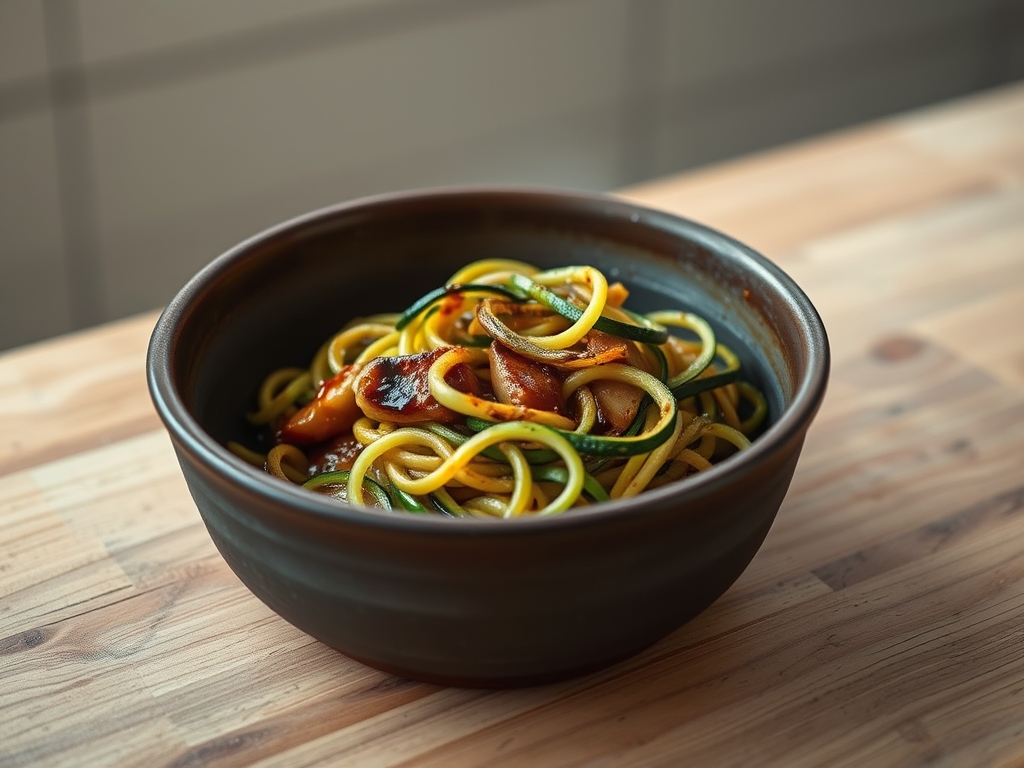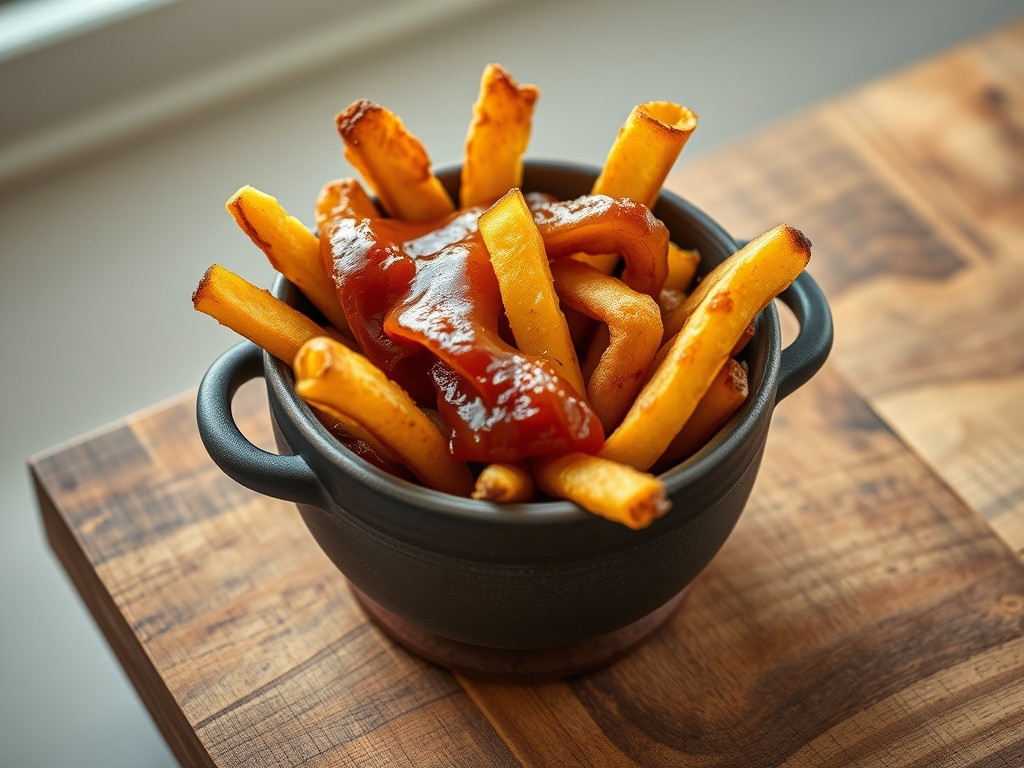
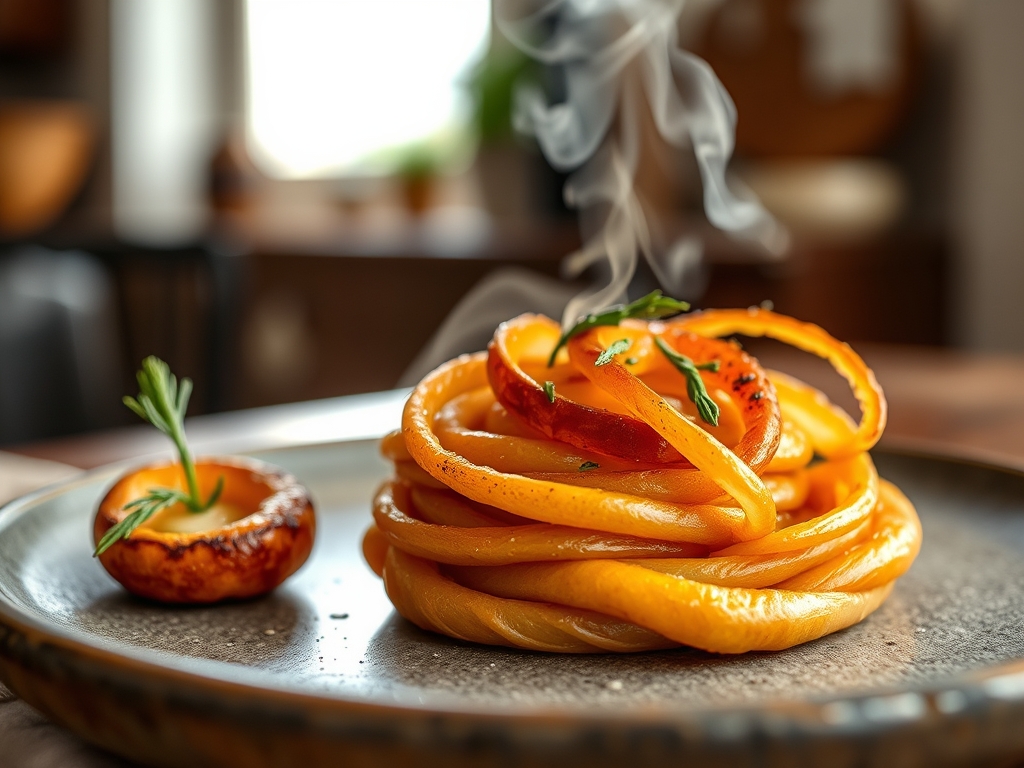
Listen up, culinary architects. We are moving beyond the basic puff pastry. We are entering the realm of structural integrity and high-stakes lamination. Imagine a golden, concentric labyrinth of butter-enriched dough that shatters upon impact, revealing a soft, yeasted interior that cradles a vibrant fruit center. This is the Spiralized Danish. It is not merely a breakfast item; it is a feat of engineering where the fruit center stability must be maintained against the violent expansion of steam-leavened layers. If your fruit filling is weeping or your pastry is collapsing into a soggy heap of regret, your infrastructure has failed. We are here to audit that failure and rebuild it with precision. We are looking for that perfect balance of a viscous fruit reduction and a crisp, multi-layered spiral. Every turn of the dough is a calculation. Every gram of butter is a structural load-bearing component. We are chasing the ultimate Maillard reaction while ensuring the fruit remains bright, piquant, and perfectly centered. Let us begin the audit.
THE DATA MATRIX
| Metric | Specification |
|---|---|
| Prep Time | 45 Minutes (Active) |
| Execution Time | 18 Hours (Includes Chilling) |
| Yield | 12 Units |
| Complexity (1-10) | 9 |
| Estimated Cost per Serving | $1.45 |
THE GATHERS
Ingredient Protocol:
- 500g / 4 cups All-Purpose Flour (High protein content preferred)
- 10g / 2 tsp Kosher Salt
- 50g / 1/4 cup Granulated Sugar
- 10g / 1 tbsp Instant Yeast
- 300ml / 1.25 cups Whole Milk (Cold)
- 250g / 1.1 cups Unsalted European-Style Butter (82% fat minimum)
- 200g / 1 cup Fresh Raspberries or Apricots (For the center)
- 50g / 3 tbsp Cornstarch (Structural thickener)
- 1 Large Egg (For the wash)
- 5ml / 1 tsp Vanilla Bean Paste
Section A: Ingredient Quality Audit:
If your butter has a high water content, your lamination will fail. Water turns to steam too quickly, causing the layers to fuse rather than separate. Use European-style butter for its plasticity. If your yeast is sluggish, the dough will not aerate properly during the final proof; test your yeast in warm milk before proceeding. If your fruit is too watery, it will compromise the pastry base. You must render the excess moisture out of the fruit by pre-cooking it with a stabilizer like cornstarch or pectin to ensure it stays put during the bake.
THE MASTERCLASS
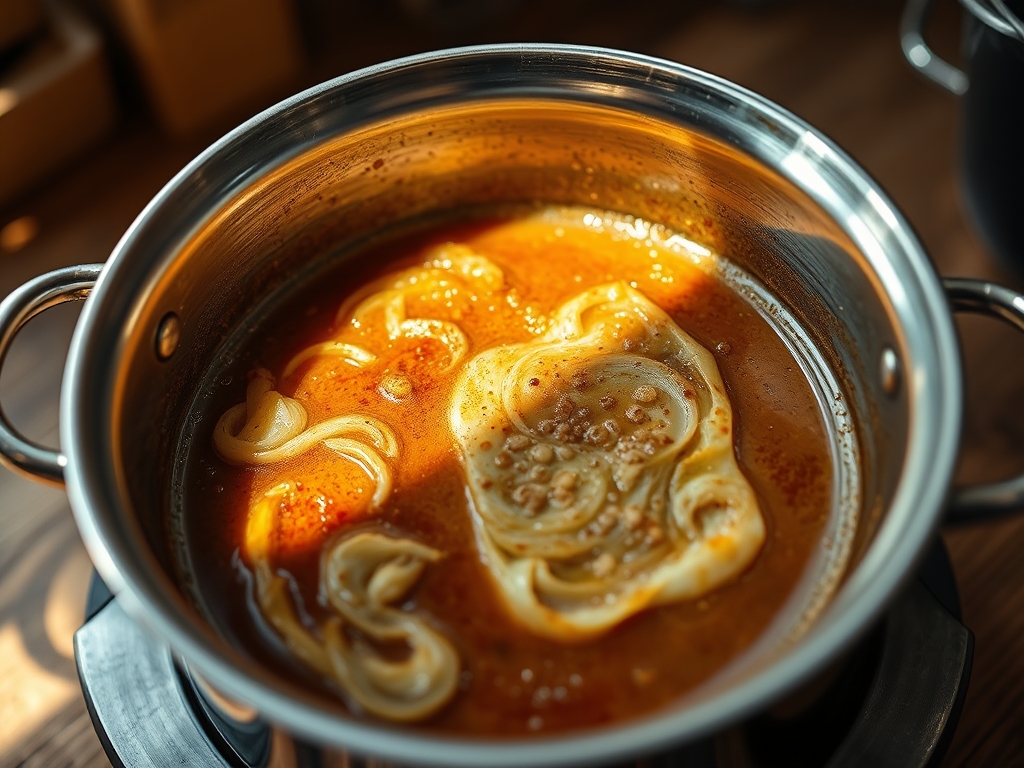
Step 1: The Detrempe Construction
Combine your flour, sugar, salt, and yeast in a stand mixer. Slowly infuse the cold milk into the dry ingredients. Mix until a shaggy mass forms. Do not overwork the gluten at this stage; we need extensibility for the rolling process later.
Pro Tip: Use a digital scale for every measurement. Volumetric displacement is the enemy of consistency in lamination. Precision ensures the dough-to-fat ratio remains constant for optimal lift.
Step 2: Creating the Butter Block
Place your cold butter between two sheets of parchment paper. Use a heavy rolling pin to pound it into a flat, pliable square. It must be the same consistency as the dough; firm but flexible.
Pro Tip: A bench scraper is essential here to square off the edges. If the butter is too hard, it will shatter inside the dough; if it is too soft, it will emulsify into the flour, destroying your layers.
Step 3: The Lamination Sequence
Encase the butter block in the dough and perform three "letter folds." Rest the dough in the refrigerator for at least 45 minutes between each fold to relax the gluten and keep the butter solid.
Pro Tip: Use a tapered rolling pin to maintain even pressure. This prevents the butter from being pushed out of the edges, ensuring every millimeter of your Spiralized Danish has distinct layering.
Step 4: Shaping the Spiral
Roll the finished pastry into a large rectangle. Cut long, thin strips using a pizza wheel. Twist each strip tightly and coil it around itself to create a circular nest with a deep indentation in the center.
Pro Tip: Use a ruler to ensure strips are exactly 2cm wide. Uniformity in size ensures that every unit in the oven reaches the target internal temperature simultaneously.
Step 5: The Fruit Core Integration
Cook your fruit, sugar, and cornstarch in a saucier until thick and glossy. Once cooled, spoon a precise amount into the center of each dough coil. Brush the exposed pastry with egg wash for a high-gloss finish.
Pro Tip: The saucier's rounded bottom prevents the fruit sugars from scorching in the corners. A stable, thickened fruit center prevents the "volcano effect" where filling erupts over the sides during baking.
Step 6: The Thermal Transformation
Bake at 400F (200C) for 15 to 18 minutes. The high initial heat triggers the steam expansion, while the subsequent heat caramelizes the exterior sugars.
Pro Tip: Use an infrared thermometer to check your oven's hot spots. Rotate the tray halfway through to ensure an even golden-brown hue across the entire batch.
Section B: Prep & Timing Fault-Lines:
The biggest human error is rushing the chill time. If the dough is not cold, the butter melts and the Spiralized Danish becomes a greasy brioche. If the proofing environment is too hot (above 85F), the butter will leak out before the dough even hits the oven. Control your environment like a laboratory.
THE VISUAL SPECTRUM
Section C: Thermal & Visual Troubleshooting:
Referencing the Masterclass photo, look for the "shatter effect" on the outer rings. If your Danish looks dull or matte, you skipped the egg wash or your oven was too cold. If the fruit center has bled into the dough, your fruit reduction was not viscous enough. Pale, doughy centers indicate under-baking; the pastry should sound hollow when tapped on the bottom. If the spiral has unfurled, the "tail" of the dough strip was not tucked securely underneath the coil.
THE DEEP DIVE
Macro Nutrition Profile:
Each Spiralized Danish is a high-energy unit. Expect approximately 380 calories, with 22g of fat, 42g of carbohydrates, and 5g of protein. This is a luxury fuel source.
Dietary Swaps:
- Vegan: Substitute butter with a high-quality plant-based laminate (like cocoa butter-based sticks) and use almond milk.
- Keto: This is structurally impossible with traditional lamination; however, a "fathead" dough variant can mimic the shape, though not the flaky layers.
- GF: Use a high-quality gluten-free flour blend with xanthan gum, but expect a more "short" texture rather than long, elastic layers.
Meal Prep & Reheating Science:
To maintain molecular structure, do not microwave. The microwave agitates water molecules, making the crust soggy. Reheat in a 350F oven for 5 minutes to re-crisp the fat layers and restore the pastry's structural integrity.
THE KITCHEN TABLE
Why is my pastry greasy?
The dough was too warm during the folding process. The butter melted into the flour instead of staying in discrete layers. Always chill your dough between turns to keep the fat solid and the layers distinct.
Can I use frozen fruit?
Yes, but you must thaw and drain it first. Frozen fruit releases significantly more water. Increase your cornstarch ratio by 15% to compensate for the extra moisture and ensure the fruit center remains stable.
How do I get more layers?
Add a fourth fold, but be careful. Too many folds make the layers so thin they fuse together. For a Spiralized Danish, three "letter folds" provide the ideal balance of lift and definition.
Why did my fruit sink?
Your dough was likely over-proofed. If the dough structure becomes too weak, it cannot support the weight of the fruit. Ensure the Danish is springy to the touch, not collapsing, before it enters the oven.
What is the best flour to use?
Use a flour with 11.5% to 12.5% protein. This provides enough gluten to hold the gases for lift, but remains tender enough to shatter. Bread flour is often too tough for delicate Danish work.