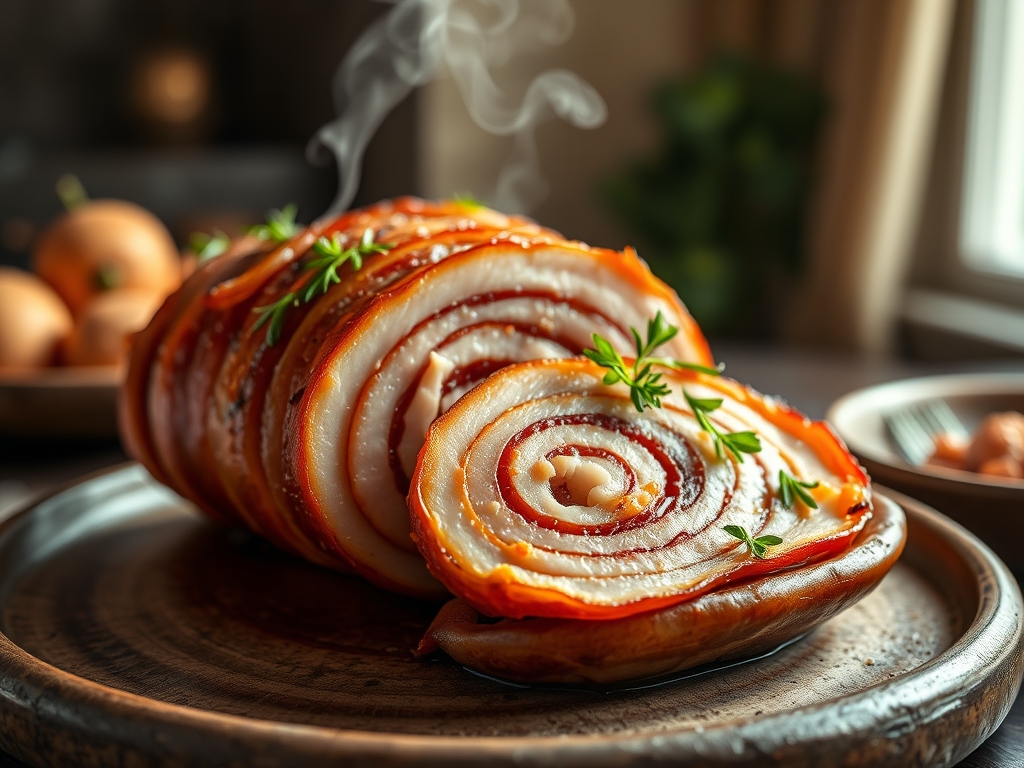
Forget the flaccid, water-logged deli slices of your childhood. We are entering the realm of structural culinary engineering where the Spiralized Ham Roast reigns supreme as the ultimate vessel for heat distribution and glaze retention. This is not merely a meal; it is a study in surface area optimization. By utilizing a helical cut, we transform a dense porcine muscle into a series of aerodynamic channels designed to capture every drop of piquant lacquer. Imagine the scent of clove-infused sugars reacting with the salt-cured proteins as they undergo the Maillard reaction. The air in your kitchen becomes thick with the aroma of rendered fat and caramelized honey. We are auditing the very essence of the holiday centerpiece, stripping away the amateur guesswork and replacing it with rigorous thermal precision. Every crevice of this roast is a strategic opportunity for flavor infusion. Prepare to deploy your oven as a high-performance convection chamber, turning a humble leg of pork into a shimmering, mahogany masterpiece of edible architecture.
THE DATA MATRIX
| Metric | Specification |
|---|---|
| Prep Time | 20 Minutes |
| Execution Time | 12-15 Minutes per Pound (approx. 2 hours) |
| Yield | 12 to 15 Servings |
| Complexity (1-10) | 4 (Focus on Temperature Management) |
| Estimated Cost per Serving | $2.75 – $3.50 USD |
THE GATHERS
Ingredient Protocol:
- 1 Bone-In Spiralized Ham Roast: 3.6kg to 4.5kg / 8 to 10 lbs.
- Dark Brown Sugar: 220g / 1 cup (packed).
- Pure Maple Syrup: 120ml / 0.5 cup.
- Dijon Mustard: 60ml / 0.25 cup (for emulsification).
- Apple Cider Vinegar: 30ml / 2 tbsp (to balance pH).
- Ground Cloves: 2.5g / 0.5 tsp.
- Smoked Paprika: 5g / 1 tsp.
- Unsalted Butter: 55g / 4 tbsp (to add a viscous sheen).
Section A: Ingredient Quality Audit:
The primary failure point in a Spiralized Ham Roast is "weeping" caused by excess sodium phosphate injections in lower-tier meats. If your ham feels slimy or sits in a pool of grey liquid in the packaging, it has been "pumped" with brine to increase weight. To fix this, pat the surface aggressively dry with lint-free towels and allow it to air-dry in the refrigerator for two hours before cooking. If your glaze feels too thin, the culprit is often a lack of pectin or sugar density. Do not compensate by adding more sugar; instead, use a saucier to reduce the liquid by thirty percent until it coats the back of a spoon. If the mustard separates, your emulsion has broken. Whisk in a teaspoon of warm water to re-establish the bond between the fats and the vinegar.
THE MASTERCLASS
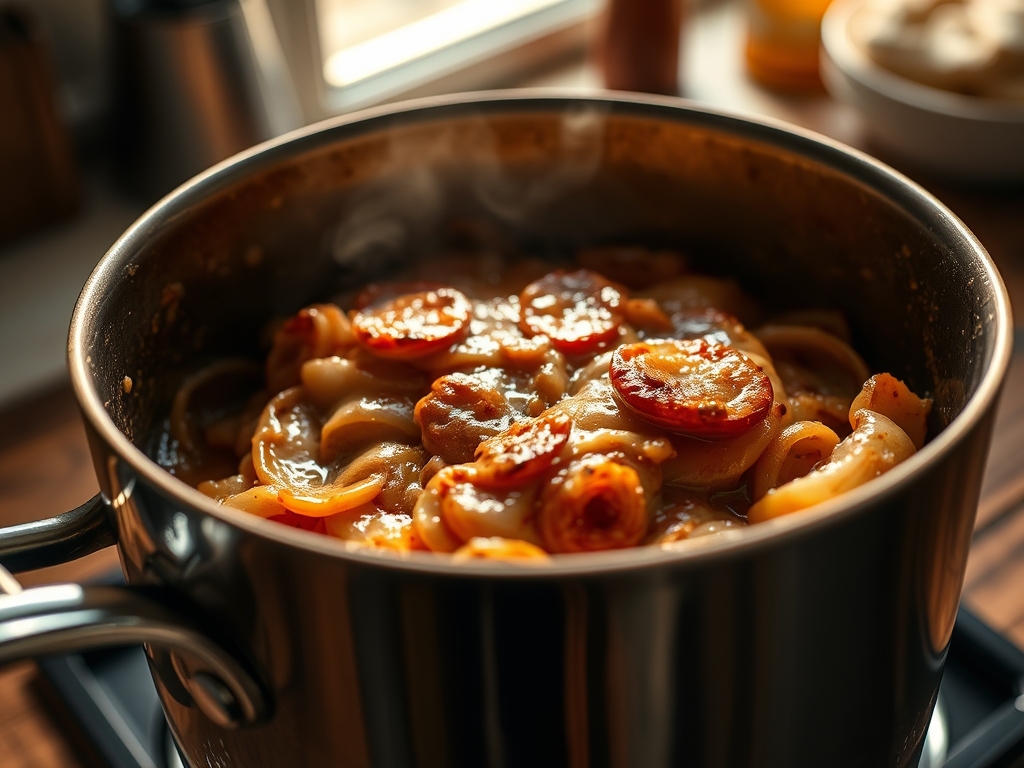
Step-by-Step Execution:
1. Thermal Equilibrium Alignment
Remove the ham from refrigeration sixty minutes prior to roasting. Use a digital scale to confirm the weight for precise timing calculations. Placing a cold mass into a hot oven creates a massive thermal gradient that results in a dry exterior and a cold core.
Pro Tip: This is known as tempering the meat. By narrowing the gap between the internal temperature and the ambient oven air, you ensure the muscle fibers do not contract violently, which preserves the intracellular moisture.
2. The Hydration Chamber
Place the ham cut-side down in a heavy-duty roasting pan. Add 250ml / 1 cup of water to the base and seal the entire vessel tightly with heavy-gauge aluminum foil. This creates a steam-jacketed environment.
Pro Tip: Using a bench scraper to ensure the foil is tucked tightly against the pan rim prevents steam escape. This convective environment gently renders the fat without toughening the outer layers of the helical slices.
3. Glaze Reduction and Emulsification
While the ham roasts at 165C / 325F, combine the sugar, syrup, mustard, and spices in a saucier. Bring to a simmer over medium heat, whisking constantly until the mixture becomes a viscous amber syrup. Whisk in the butter at the very end.
Pro Tip: The mustard acts as a natural emulsifier, linking the aqueous maple syrup with the lipids in the butter. This prevents the glaze from sliding off the ham and ensures it clings to every spiralized surface.
4. The Lacquering Phase
Once the internal temperature reaches 50C / 120F, remove the foil. Increase the oven heat to 200C / 400F. Use a silicone brush to apply a generous layer of glaze, ensuring it penetrates the deep cuts of the spiral.
Pro Tip: This high-heat finish triggers the Maillard reaction. The sugars and amino acids on the surface undergo a complex chemical transformation, creating hundreds of new flavor compounds and that signature mahogany crust.
5. The Final Kinetic Rest
Remove the roast when the internal temperature hits 60C / 140F. Transfer to a carving board and tent loosely with foil for fifteen minutes.
Pro Tip: During the rest, the internal pressure of the meat stabilizes. This allows the juices to redistribute through the capillary structures of the muscle rather than spilling out onto the board when you begin to serve.
Section B: Prep & Timing Fault-Lines:
The most common human error is the "Over-Roast." Because a Spiralized Ham Roast is pre-sliced, it has a massive surface area that loses moisture rapidly. If you miss your window, the slices will curl and turn into "pork jerky." Use a dual-probe digital thermometer to monitor both the oven air and the deepest part of the meat simultaneously. If the glaze begins to smoke before the center is warm, your rack position is too high. Move the pan to the lower third of the oven to utilize indirect heat rather than intense radiant heat from the top element.
THE VISUAL SPECTRUM
Section C: Thermal & Visual Troubleshooting:
Referencing the Masterclass photo, your goal is a "Glassy Mahogany" finish. If your roast looks dull or matte, you likely lacked enough lipid (butter) in your glaze or the sugar didn't reach the "hard crack" stage. Solution: Brush with a small amount of warm honey immediately after removal. If you see uneven browning (dark spots on top, pale on the bottom), your oven has hot spots. Rotate the pan 180 degrees every twenty minutes during the glazing phase. If the slices appear greyish rather than pink, the ham was likely under-cured or steamed for too long without enough dry-heat exposure at the end. Increase the final "blast" temperature to 215C / 425F for five minutes to compensate.
THE DEEP DIVE
Macro Nutrition Profile:
A standard 140g / 5oz serving provides approximately 280 calories, 32g of protein, 12g of fat, and 10g of carbohydrates (primarily from the glaze). It is an excellent source of Selenium and Vitamin B12, though it remains high in sodium due to the curing process.
Dietary Swaps:
- Keto: Replace the brown sugar and maple syrup with an allulose-based brown sugar substitute and sugar-free maple flavoring.
- Vegan: This protocol can be applied to a "Seitan Roast." Use a serrated knife to create a helical cut in a steamed seitan log and follow the glazing steps.
- Gluten-Free: Ensure your Dijon mustard and smoked paprika are certified gluten-free, as some brands use wheat-based thickeners or anti-caking agents.
Meal Prep & Reheating Science:
To maintain the molecular structure when reheating, avoid the microwave. The high-frequency waves agitate water molecules, causing them to steam the meat from the inside out and creating a rubbery texture. Instead, place slices in a shallow pan with a tablespoon of broth, cover with foil, and reheat at 150C / 300F. This "low and slow" approach prevents the proteins from over-coagulating.
THE KITCHEN TABLE
How do I keep the ham from drying out?
The secret is the "Steam Jacket" method. By adding water to the pan and sealing it tightly with foil for the first 75 percent of the cook time, you ensure the meat stays hydrated before the final glazing phase.
Can I use a slow cooker for a spiral ham?
Yes, but you sacrifice the Maillard crust. If you use a slow cooker, you must finish the ham under a broiler for 5 minutes to achieve the necessary caramelization and texture on the exterior of the spiralized edges.
What is the best way to carve a spiral ham?
Since it is already sliced, simply cut along the natural fat lines and around the center bone. The slices will naturally fall away in perfect, uniform pieces. Use a sharp utility knife to release any stubborn attachments.
Why is my glaze sliding off the meat?
Your ham was likely too wet. If the surface is covered in "purge" (meat juices), the glaze cannot bond. Always pat the ham dry with paper towels before applying your first layer of the viscous glaze mixture.