Listen closely because the structural integrity of your dinner is currently under review. We are moving beyond the realm of simple boiling and entering the high-stakes world of the Tortellini Coil Audit. This is not a casual Sunday sauce situation; this is a rigorous inspection of the navel-shaped pasta coil and its ability to act as a pressurized vessel for flavor. When you drop a perfectly formed tortellino into a simmering liquid, you are managing a complex system of starch gelatinization and protein denaturation. The goal is a surface tension that resists tearing while maintaining a delicate, supple mouthfeel. We are looking for that specific, geometric perfection where the fold meets the curve, creating a pocket that captures the sauce through capillary action. If your pasta is flaccid, leaking its payload, or presenting a texture akin to wet cardboard, you have failed the audit. We are here to recalibrate your kitchen infrastructure, ensuring every coil is a masterpiece of culinary engineering that delivers a piquant explosion of taste with every bite.
THE DATA MATRIX
| Metric | Specification |
|---|---|
| Prep Time | 45 Minutes |
| Execution Time | 15 Minutes |
| Yield | 4 Servings |
| Complexity (1-10) | 7 |
| Estimated Cost per Serving | $4.50 |
THE GATHERS
Ingredient Protocol:
- Pasta Component: 500g / 1.1 lbs Fresh Egg Pasta Dough (High-protein flour is mandatory).
- Filling Base: 250g / 9 oz Mortadella, finely minced.
- Protein Core: 250g / 9 oz Pork Loin, seared and ground.
- Dairy Binder: 150g / 5.3 oz Parmigiano Reggiano, aged 24 months.
- Aromatic Infusion: 1g / 1/4 tsp Freshly grated nutmeg.
- Emulsion Base: 115g / 1/2 cup Unsalted high-fat butter.
- Liquid Gold: 1 liter / 4.2 cups Clarified capon or chicken bone broth.
Section A: Ingredient Quality Audit:
The primary failure point in most pasta infrastructure is the moisture content of the filling. If your mortadella or pork is too wet, the steam generated during cooking will cause the pasta envelope to expand and rupture. To fix this, you must render any excess fat from the pork and allow it to cool completely before mixing. If the mixture remains loose, add a small amount of finely ground breadcrumbs to act as a structural stabilizer. Furthermore, if your Parmigiano Reggiano lacks the crystalline crunch of tyrosine, your filling will lack depth. Always grate your cheese micro-fine to ensure it can infuse the meat mixture without creating large air pockets. If your dough feels brittle, the hydration levels are likely below 30 percent; incorporate a single egg yolk to increase elasticity and achieve a vibrant golden hue.
THE MASTERCLASS
1. Precision Sheet Calibration
Roll your pasta dough through a manual or electric roller until it reaches a thickness of approximately 0.5mm. You should be able to see the grain of your wooden workbench through the translucent sheet. Use a bench scraper to trim the edges into a perfect rectangle, ensuring no jagged lines compromise the seal.
Pro Tip: Use a digital scale to weigh your dough portions before rolling. Consistent mass leads to consistent thickness, which ensures that every coil in the pot cooks at the exact same rate, preventing a mix of al dente and overcooked pasta.
2. The Payload Deployment
Cut the pasta into 3cm squares using a sharp rolling wheel. Place exactly 3g of filling in the center of each square. Do not overstuff the vessel. The filling must occupy no more than 40 percent of the internal surface area to allow for thermal expansion.
Pro Tip: Keep a damp cloth over your pasta sheets to prevent dehydration. If the edges dry out, they will not fuse at a molecular level, leading to a catastrophic structural failure during the boil.
3. The Navel Coil Execution
Fold the square into a triangle, pressing firmly to remove all oxygen. Take the two base corners and wrap them around your pinky finger, overlapping them and pressing to seal. This creates the signature "navel" shape that defines the Tortellini Coil Audit.
Pro Tip: The physics of the coil allows the pasta to tumble in the boiling broth without snagging. Use a saucier with sloped sides for the final toss to ensure the movement remains fluid and the delicate "tails" of the pasta do not snap off.
4. The Broth Emulsion
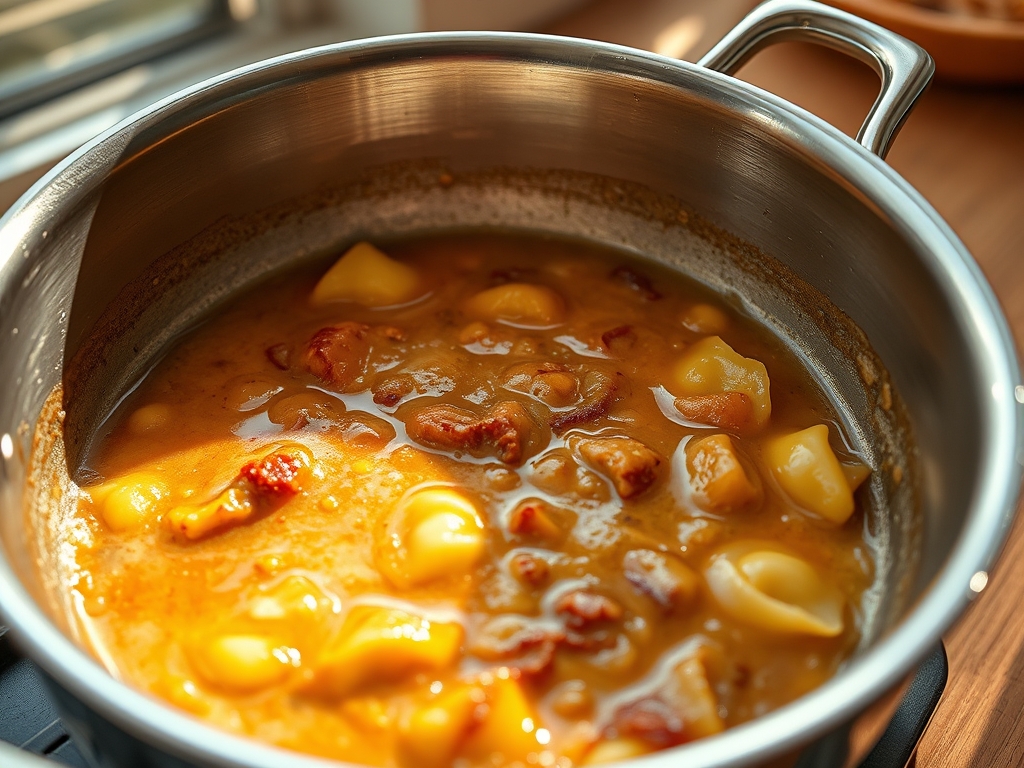
Bring your clarified broth to a gentle simmer, never a rolling boil. Drop the tortellini in and cook for exactly three minutes. In a separate pan, melt your high-fat butter with a splash of the pasta water to create a viscous emulsion.
Pro Tip: Use a whisk to aerate the butter sauce as you add the pasta water. The starch released from the pasta acts as a natural emulsifier, binding the fats and liquids into a glossy coating that clings to the coils.
Section B: Prep & Timing Fault-Lines:
Timing is the silent killer of the perfect pasta coil. If you leave your filled tortellini on the bench for too long, the filling moisture will migrate into the dough, making it gummy. Conversely, if you freeze them without a flash-chill, ice crystals will puncture the gluten network. Always work in small batches. If your broth temperature drops below 90 degrees Celsius when the pasta is added, the starch will leach out too quickly, resulting in a cloudy liquid and a slimy exterior. Use a digital thermometer to monitor the thermal floor of your cooking vessel.
THE VISUAL SPECTRUM
Section C: Thermal & Visual Troubleshooting:
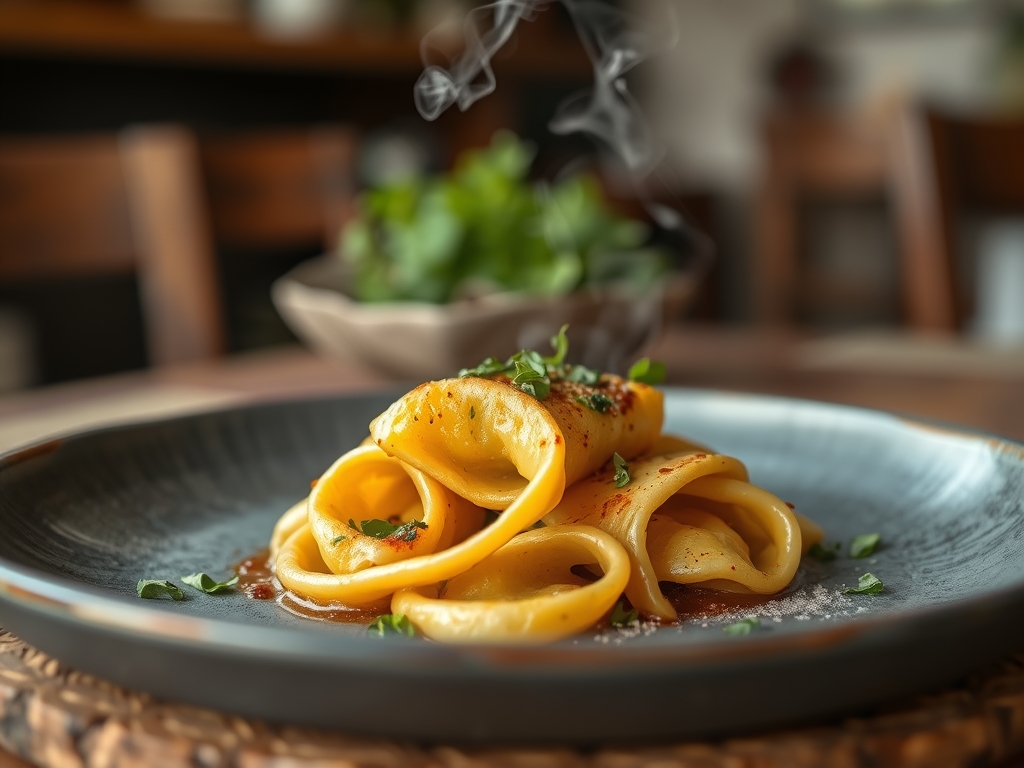
Referencing the Masterclass photo, your tortellini should exhibit a "tight" coil with no visible gaps in the seam. If you see white, chalky spots on the pasta, it indicates "flour burn" from using too much dusting flour during the fold; use a soft brush to remove excess before cooking. If the coils appear dull rather than glossy, your butter emulsion has broken. To fix this, remove from heat and add a teaspoon of cold water while shaking the pan vigorously to re-establish the bond. Uneven browning on the meat inside (visible through the translucent skin) suggests the pork was not ground finely enough. The interior should look like a uniform, rosy mosaic, not a collection of distinct chunks.
THE DEEP DIVE
Macro Nutrition Profile:
A standard serving of these audited coils provides approximately 450 calories, with 22g of protein, 18g of fat, and 48g of carbohydrates. The high protein content comes from the egg-rich dough and the dual-meat filling, making this a structurally sound meal for muscle recovery.
Dietary Swaps:
For a Vegan variant, replace the egg dough with a semolina and water mixture (3:1 ratio) and use a filling of roasted mushrooms and cashew-based "parmesan." For a Gluten-Free alternative, utilize a blend of rice flour and xantham gum, though be warned that the coil's structural integrity will be significantly more fragile.
Meal Prep & Reheating Science:
To maintain the molecular structure when reheating, never use a microwave. The uneven agitation of water molecules will turn the pasta into rubber. Instead, gently steam the tortellini or drop them into simmering broth for 60 seconds. This rehydrates the starch without overcooking the protein core.
THE KITCHEN TABLE
Why do my tortellini open during boiling?
This is usually caused by trapped air or a weak seal. Ensure you press all oxygen out before closing the triangle. If the dough is too dry, a microscopic drop of water on the edge will act as culinary glue.
Can I use store-bought wonton wrappers?
Absolutely not. The infrastructure of a wonton wrapper lacks the protein density required for a traditional Italian coil. It will lack the necessary "bite" and will fail the texture audit immediately.
How do I get my broth perfectly clear?
Use a "raft" of egg whites and minced meat to filter the impurities. As the proteins coagulate, they trap the particulates, leaving you with a transparent, golden liquid that highlights the geometry of the pasta.
What is the best way to store leftovers?
Store the pasta separate from the broth. If they sit in liquid, the coils will continue to absorb water through osmosis, eventually bloating and losing their structural definition. Toss them in a light oil before refrigerating.