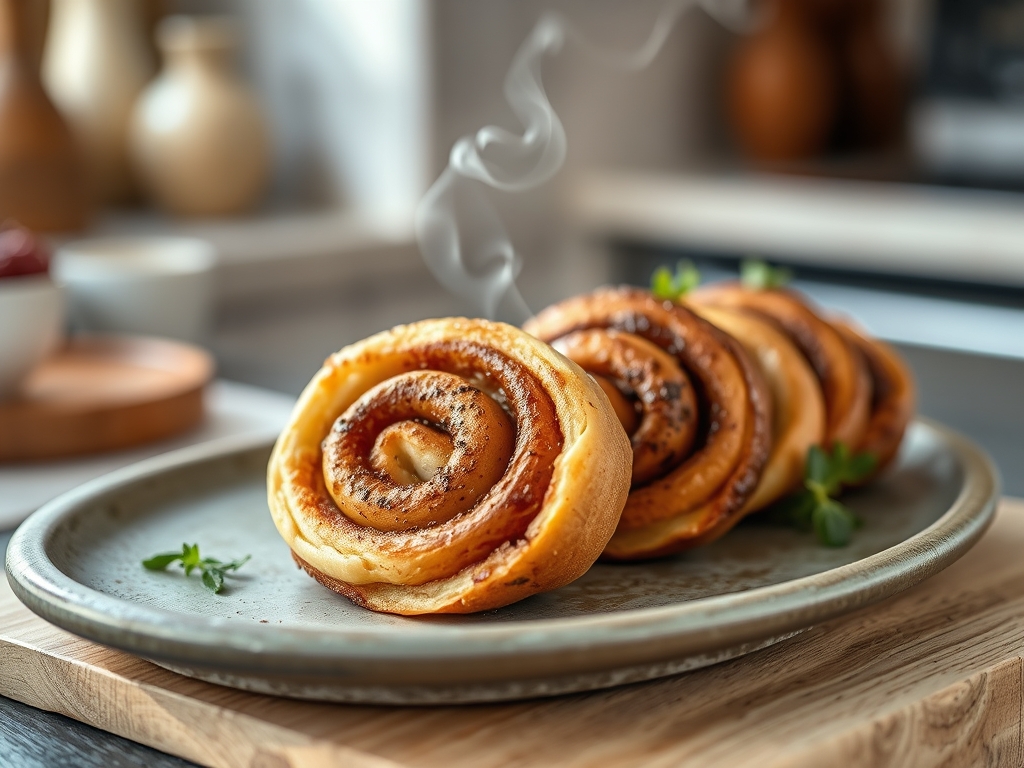
Imagine the scent of caramelized glucose and high-fat European butter weaponized against your willpower. We are not merely discussing a breakfast pastry; we are auditing the structural integrity of Cinnamon Roll Spirals. This is a high-stakes engineering project where the objective is a perfectly stratified coil of enriched dough and spice. The air in your kitchen should be thick with the aroma of Ceylon cinnamon and toasted yeast. When you pull these from the oven, the visual is undeniable. You see a golden, glistening architecture that defies the laws of ordinary bread. The center must be soft, almost molten, while the exterior maintains a crisp, structural perimeter. We are looking for that specific tension between the elastic gluten network and the viscous, melting interior. If your dough is dry, you have failed the hydration test. If your spirals unravel, your rolling technique lacks the necessary torque. Prepare your workstation for a rigorous assessment of heat, time, and fat. We are about to build a masterpiece of edible geometry.
THE DATA MATRIX
| Metric | Specification |
|---|---|
| Prep Time | 45 Minutes |
| Execution Time | 180 Minutes (Including Proofing) |
| Yield | 12 Large Spirals |
| Complexity (1-10) | 7 |
| Estimated Cost per Serving | $1.15 |
THE GATHERS
Ingredient Protocol:
- Dough Base: 500g / 4 cups All-Purpose Flour (11.5% protein content)
- Hydration: 240ml / 1 cup Whole Milk (3.5% fat)
- Leavening: 7g / 2.25 tsp Active Dry Yeast
- Sweetener: 100g / 0.5 cup Granulated Sugar
- Enrichment: 115g / 0.5 cup Unsalted Butter (Melted and cooled)
- Emulsifier: 1 Large Egg (Room temperature)
- The Filling: 200g / 1 cup Brown Sugar (Packed)
- The Spice: 20g / 2.5 tbsp Ground Cinnamon
- The Fat: 75g / 0.33 cup Softened Butter
- The Glaze: 120g / 4 oz Cream Cheese (Softened)
- The Finish: 120g / 1 cup Powdered Sugar
Section A: Ingredient Quality Audit:
The primary failure point in most Cinnamon Roll Spirals is the yeast viability. If your milk exceeds 110 degrees Fahrenheit, you will terminate the yeast cells before they can aerate the dough. Use a digital thermometer to verify liquid temperatures. If using low-quality "supermarket" cinnamon, the flavor profile will be flat; upgrade to Saigon or Ceylon cinnamon to infuse a sharp, piquant bite. If your flour has a protein content below 10%, the gluten network will collapse under the weight of the sugar and fat, resulting in a dense, gummy crumb. For a technical fix, add one tablespoon of vital wheat gluten to lower-protein flours to reinforce the structure.
THE MASTERCLASS
Step 1: The Hydration and Activation Phase
Combine the warm milk, sugar, and yeast in the bowl of a stand mixer. Let it sit for ten minutes until a thick foam develops. This indicates the yeast is metabolizing the sugars.
Pro Tip: Use a digital scale to measure ingredients by weight rather than volume. Volumetric measurements are notoriously inaccurate; a "cup" of flour can vary by 30 grams depending on how it is packed. Precision is the bedrock of consistent fermentation.
Step 2: The Enrichment and Kneading Protocol
Add the melted butter, egg, and flour. Using the dough hook attachment, knead on low speed for 8 to 10 minutes. The dough should transition from a shaggy mass to a smooth, elastic sphere that clears the sides of the bowl.
Pro Tip: Perform the "windowpane test" to verify gluten development. Pull a small piece of dough; it should stretch thin enough to see light through it without tearing. This ensures the dough can trap the carbon dioxide produced during proofing.
Step 3: The Primary Fermentation
Place the dough in a lightly oiled bowl and cover with a damp cloth. Allow it to rise in a warm, draft-free environment until it has doubled in volume. This usually takes 60 to 90 minutes.
Pro Tip: If your kitchen is cold, create a makeshift proofing box by placing the dough in an unlit oven next to a bowl of boiling water. The steam provides the heat and humidity required for optimal yeast activity.
Step 4: Geometric Alignment and Rolling
Degas the dough by punching it down. On a floured surface, use a heavy rolling pin to shape the dough into a 12×18 inch rectangle. Spread the softened butter across the surface, leaving a one-inch border at the top. Sprinkle the cinnamon-sugar mixture evenly.
Pro Tip: Use a bench scraper to maintain clean edges and prevent the dough from sticking to the work surface. A precise rectangle ensures that every spiral has a uniform thickness and bake time.
Step 5: The Spiral Extraction
Roll the dough tightly from the long edge. Use unflavored dental floss or a very sharp serrated knife to cut the log into 12 equal segments. Place them in a greased 9×13 inch baking pan.
Pro Tip: Dental floss is the superior tool here. It applies even pressure from all sides, preventing the dough from being squashed or distorted during the cut. This preserves the visual integrity of the Cinnamon Roll Spirals.
Step 6: The Secondary Proof and Thermal Execution
Cover the rolls and let them rise for another 45 minutes. Bake at 350 degrees Fahrenheit for 25 to 30 minutes until the internal temperature reaches 190 degrees Fahrenheit. Apply the cream cheese glaze while the rolls are still warm.
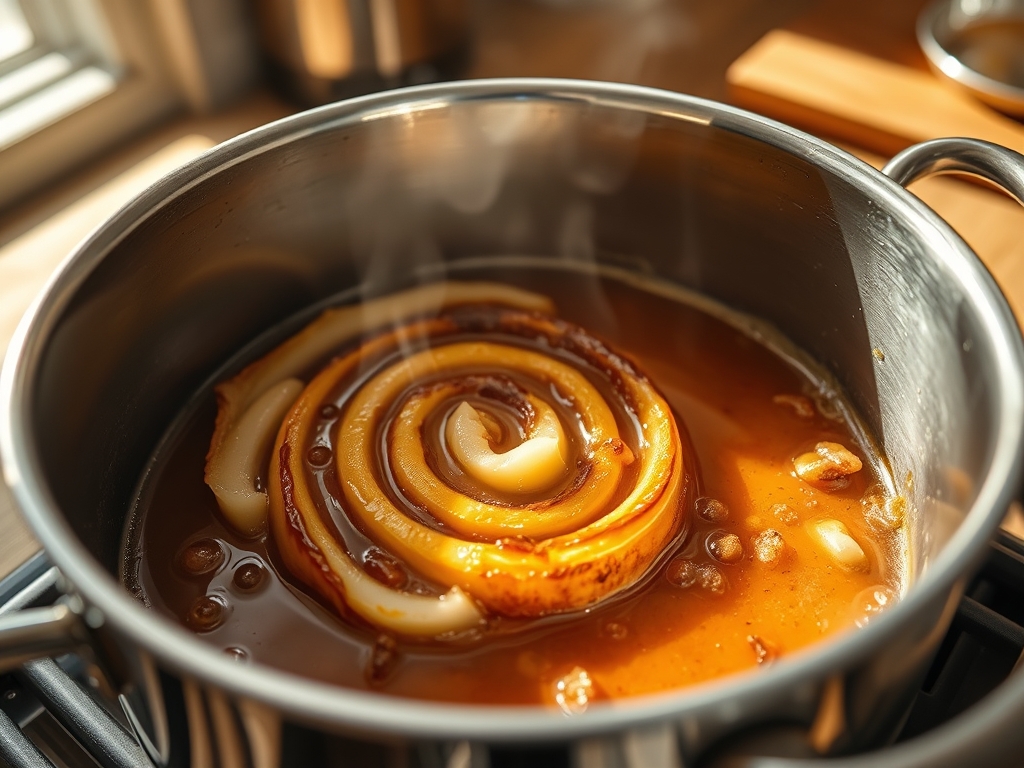
Pro Tip: Use a saucier to gently melt the glaze components if they are not incorporating smoothly. The rounded bottom of a saucier allows for efficient whisking, ensuring a silky, lump-free finish that will drape perfectly over the coils.
Section B: Prep & Timing Fault-Lines:
Timing is the silent killer of pastry. If you over-proof the dough during the second rise, the air bubbles will become too large and the structure will collapse in the oven, leading to a "pancake" effect. Conversely, under-proofing results in a tight, chewy texture. Temperature control is equally vital. If the dough is too warm during the rolling phase, the butter will melt into the dough rather than staying as a distinct layer. If this happens, refrigerate the dough for 15 minutes before attempting to roll and cut.
THE VISUAL SPECTRUM
Section C: Thermal & Visual Troubleshooting:
Referencing the Masterclass photo, observe the deep mahogany of the cinnamon layers against the pale gold of the dough. If your rolls are pale and anemic, your oven temperature may be too low, or you skipped the egg wash. If the tops are burning while the centers remain raw, tent the pan with aluminum foil to deflect radiant heat while the core finishes baking. Uneven browning usually indicates "hot spots" in your oven; rotate the pan 180 degrees halfway through the bake. If the glaze is transparent and runny, you applied it while the rolls were too hot. Wait until they are warm to the touch, not scalding.
THE DEEP DIVE
Macro Nutrition Profile:
Each spiral contains approximately 420 calories, 18g of fat, 62g of carbohydrates, and 6g of protein. This is a high-energy density food designed for maximum sensory impact rather than daily caloric efficiency.
Dietary Swaps:
For a vegan iteration, replace the milk with oat milk, the butter with a high-quality plant-based fat (oil-based solids), and the egg with a flaxseed slurry. For a gluten-free version, use a 1-to-1 gluten-free flour blend containing xanthan gum, though expect a less elastic "pull" from the finished spiral.
Meal Prep & Reheating Science:
To maintain molecular structure, do not microwave these for more than 15 seconds. Rapid microwaving agitates water molecules, which can lead to a rubbery texture once cooled. Instead, reheat in a 300-degree oven for 5 minutes. To freeze, par-bake the rolls for 15 minutes, freeze, and then finish the bake when ready to serve.
THE KITCHEN TABLE
Why are my rolls tough?
You likely over-worked the dough or added too much flour. Excess flour absorbs moisture, leaving the gluten strands dry and rigid. Always measure by weight and stop kneading once the dough is smooth and elastic.
Can I make these overnight?
Yes. Complete the assembly through Step 5, then refrigerate the shaped rolls overnight. The cold environment slows fermentation, developing a deeper flavor profile. Bring them to room temperature for 30 minutes before baking the next morning.
Why did my filling leak out?
This occurs when the butter in the filling is too melted before the rolls hit the oven. Ensure your butter is "room temperature soft" but not oily. A tighter roll also helps trap the sugar as it caramelizes.
How do I get perfectly round spirals?
The secret is the "floss cut." Using a knife compresses the delicate layers of dough. By crossing a piece of floss under the roll and pulling quickly, you slice through the fibers without distorting the circular geometry.