Listen up, culinary architects. We are moving beyond the era of the rustic, haphazard fruit pile. We are entering the domain of structural pastry engineering where the Spiralized Apple Tart reigns supreme as the ultimate intersection of geometry and gastronomy. Imagine a crust so crisp it shatters like glass under a silver fork; followed immediately by the perfume of concentrated malic acid and browned butter. This is not your grandmother's pie. This is a high-velocity operation requiring surgical precision and a total refusal to accept soggy bottoms. We are looking for a tight, helical arrangement of fruit that maximizes surface area for caramelization while maintaining a core of tender, infused sweetness. If your current tart looks like a collapsed lung, you are in the right place for a systemic overhaul. We will optimize your workflow, audit your inventory, and calibrate your thermal output until every slice is a mathematical masterpiece of flavor. Prepare to abandon the mediocre and embrace the spiral.
THE DATA MATRIX
| Metric | Specification |
|---|---|
| Prep Time | 45 Minutes |
| Execution Time | 55 Minutes |
| Yield | 8 Servings |
| Complexity | 7/10 |
| Estimated Cost per Serving | $1.85 USD |
THE GATHERS
Ingredient Protocol:
-
Pâte Sucrée Base:
- 250g / 2 cups All-purpose flour
- 150g / 10 tbsp Unsalted butter (chilled)
- 90g / 0.75 cup Powdered sugar
- 1 Large egg (beaten)
- 2g / 0.5 tsp Fine sea salt
-
The Apple Matrix:
- 5-6 Large Honeycrisp or Granny Smith apples
- 50g / 0.25 cup Granulated sugar
- 30g / 2 tbsp Unsalted butter (melted)
- 5ml / 1 tsp Lemon juice
- 2g / 1 tsp Ground cinnamon
-
The Glaze:
- 60ml / 0.25 cup Apricot preserves
- 15ml / 1 tbsp Water
Section A: Ingredient Quality Audit:
If your apples are mealy or soft, your spiral will collapse into a viscous heap of mush. Always select high-density pomes like Granny Smith for their structural integrity and piquant acidity. If your butter is too warm during the mixing phase, the lipids will soak into the flour rather than creating distinct layers; this results in a tough, bread-like crust rather than a short, crumbly texture. To fix "greasy" dough, chill your flour in the freezer for twenty minutes before you begin the integration process. If your apricot glaze is too chunky, pass it through a fine-mesh sieve to ensure a professional, glass-like finish that won't distract from the geometric precision of the fruit.
THE MASTERCLASS
1. Construct the Foundation
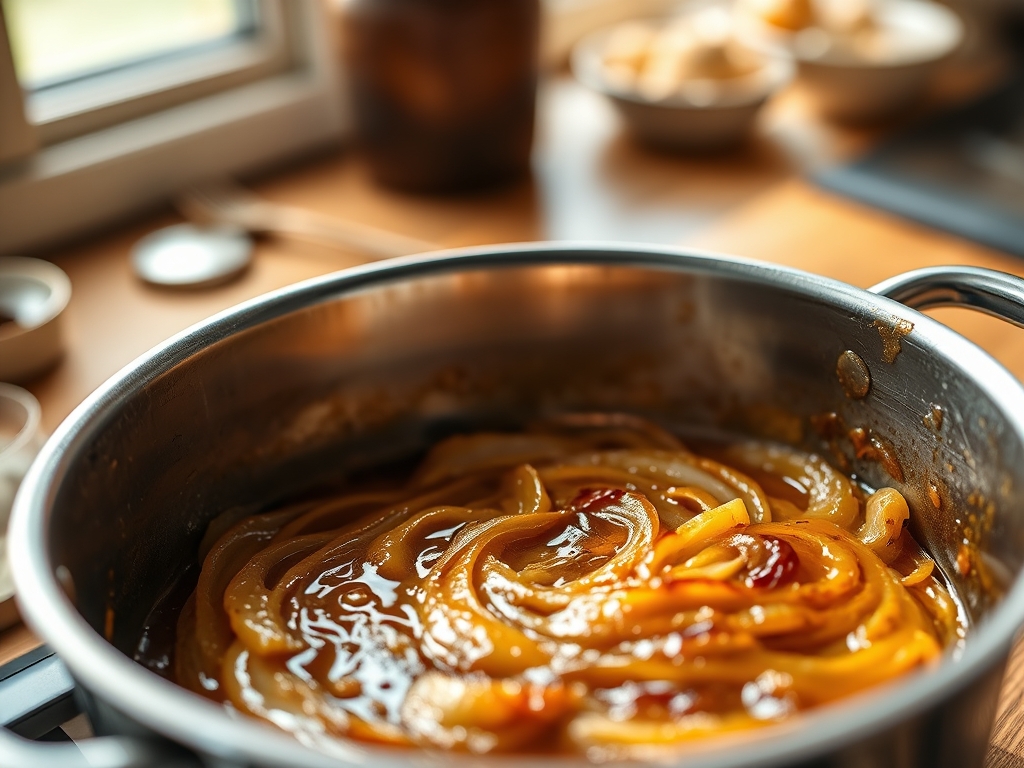
Combine the flour, sugar, and salt in a large bowl. Using a bench scraper, cut the chilled butter into the dry ingredients until the mixture resembles coarse sand. Incorporate the egg until the dough just comes together. Wrap in plastic and refrigerate for at least one hour.
Pro Tip: The science of "shortness" in pastry depends on limiting gluten development. Using a bench scraper instead of your hands prevents body heat from melting the butter, ensuring the fats stay encapsulated until they hit the oven.
2. Calibrate the Shell
Roll the dough to a 3mm thickness on a lightly floured surface. Drape it over a 9-inch tart pan with a removable bottom. Press firmly into the fluted edges and trim the excess. Prick the base with a fork to prevent steam pockets.
Pro Tip: Use a digital scale to weigh down your pie weights during a blind bake. This ensures even pressure across the base, preventing the floor of the tart from rising and ruining your fruit clearance.
3. Precision Mandoline Processing
Peel and core your apples. Using a mandoline or a specialized spiralizer, slice the apples into uniform 2mm ribbons. Toss the slices immediately with lemon juice to inhibit enzymatic browning and maintain a vibrant aesthetic.
Pro Tip: Consistency is the soul of the Spiralized Apple Tart. Uniform thickness ensures that every piece of fruit cooks at the same rate, preventing a mixture of raw and over-rendered segments.
4. Helical Placement Strategy
Starting from the outer edge of the pre-baked shell, lay the apple ribbons in a tight, overlapping spiral. Work your way toward the center, ensuring each layer is snug against the previous one. Brush the finished spiral with melted butter and sprinkle with cinnamon sugar.
Pro Tip: As the apples bake, they will lose moisture and shrink. Pack the spiral 15 percent tighter than you think is necessary to account for this volume loss and maintain the geometric density.
5. Thermal Execution
Bake at 190C (375F) for 40 to 45 minutes. The edges of the apples should begin to render their sugars and show slight caramelization while the pastry reaches a deep golden hue.
Pro Tip: Rotate the tart 180 degrees halfway through the bake. Most home ovens have "hot spots" that can cause uneven browning; manual rotation is the only way to guarantee a symmetrical bake.
6. The Glaze Infusion
In a small saucier, heat the apricot preserves and water until liquid. Brush the hot glaze over the tart immediately after removing it from the oven. This creates a protective barrier that seals in moisture and provides a professional sheen.
Pro Tip: The glaze acts as a refractive lens. A smooth, thin application enhances the visual depth of the spiral, making the colors pop under ambient light.
Section B: Prep & Timing Fault-Lines:
The most common failure in this protocol is "Dough Slump." This occurs when the pastry is placed in the oven while the fats are too soft. If you lose your vertical walls, your spiral will lose its containment. Always perform a 15-minute "flash chill" in the freezer after you have lined the tart pan but before it enters the oven. Furthermore, if you over-process the apples too early, they will release excess water through osmosis, leading to a "soggy bottom" syndrome. Slice your fruit only when the shell is ready for immediate filling.
THE VISUAL SPECTRUM
Section C: Thermal & Visual Troubleshooting:
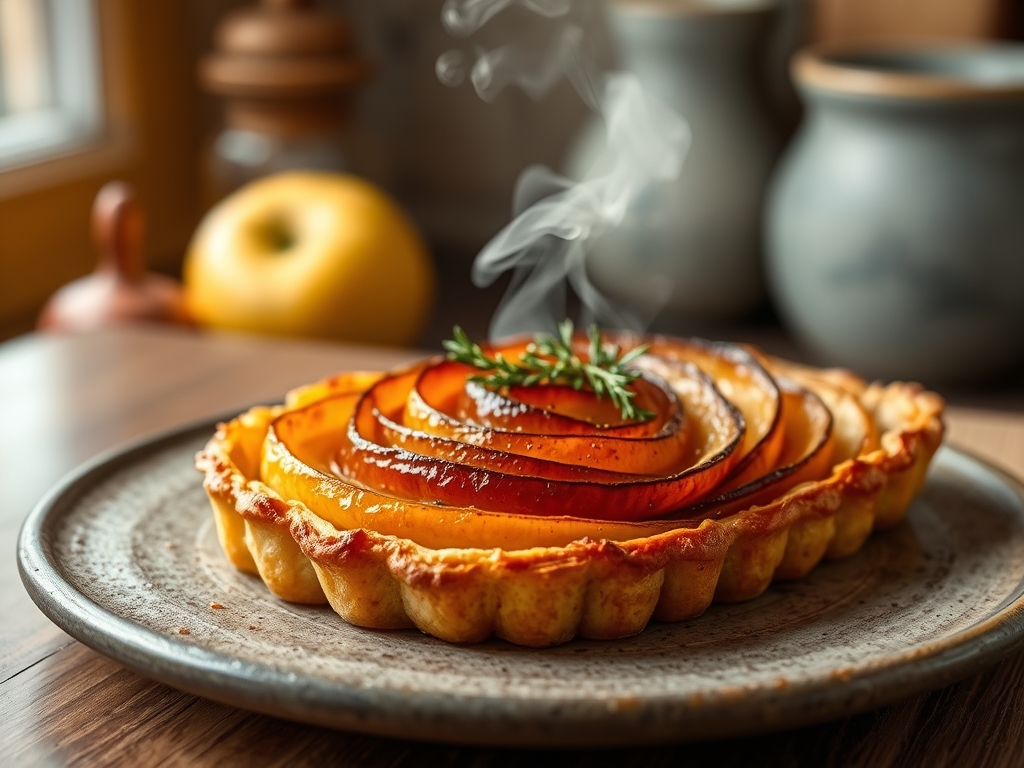
Referencing the Masterclass photo, observe the deep mahogany edges of the pastry contrasting with the bright, translucent gold of the apples. If your tart looks "pale" or "anemic," your oven calibration is likely low; use an external oven thermometer to verify the temperature. If the center of your spiral is slumped or dark while the edges are perfect, you have a moisture distribution issue. This is solved by par-cooking the apple ribbons for 30 seconds in a microwave to aerate and soften them slightly before arranging, which allows them to vent steam more efficiently during the final bake. Dull color is usually a result of skipping the glaze or using an old, oxidized jam.
THE DEEP DIVE
Macro Nutrition Profile:
Each serving contains approximately 320 calories, 14g of fat, 46g of carbohydrates, and 3g of protein. The high fiber content from the skins (if left on) or the pectin in the fruit provides a moderate glycemic response compared to traditional cake.
Dietary Swaps:
- Vegan: Replace the butter with a high-quality vegan block butter (oil-based) and use a "flax egg" or cold water for the dough binder.
- Gluten-Free: Utilize a 1-to-1 GF flour blend containing xanthan gum to maintain the structural integrity of the fluted edges.
- Keto: This is difficult given the fruit sugar, but a crust made of almond flour and erythritol can lower the net carb count significantly.
Meal Prep & Reheating Science:
To maintain the molecular structure, never microwave a tart. The localized excitation of water molecules will turn the crisp pastry into a sponge. Reheat in a 150C (300F) oven for 10 minutes to re-crisp the fats and infuse the fruit with heat without further browning.
THE KITCHEN TABLE
Why is my crust shrinking down the sides of the pan?
This is a classic sign of over-worked dough. When you develop too much gluten, the protein strands act like rubber bands. Relax the dough in the fridge for longer periods to allow the gluten network to de-stress before baking.
Can I use pears instead of apples for the spiral?
Yes, but you must select firm, under-ripe Bosc pears. Ripe pears contain too much water and will collapse into a slurry, destroying the geometric definition of your Spiralized Apple Tart.
How do I get the tart out of the pan without it breaking?
Always use a tart pan with a removable bottom. Once cooled, place the pan on top of a narrow cylinder (like a salt shaker) and let the outer ring drop away. Slide a thin offset spatula under the base to release.
My apples are browning before I even get them into the oven!
Oxidation is the enemy. Work in small batches or keep your sliced apple ribbons submerged in a bowl of "acidulated water" (water with lemon juice) until you are ready to construct the helical pattern.
What is the best way to achieve that "mirror" shine?
Heat your glaze until it is bubbling and fluid. Use a natural hair pastry brush rather than silicone; the natural bristles provide a more even, streak-free application of the viscous preserves.