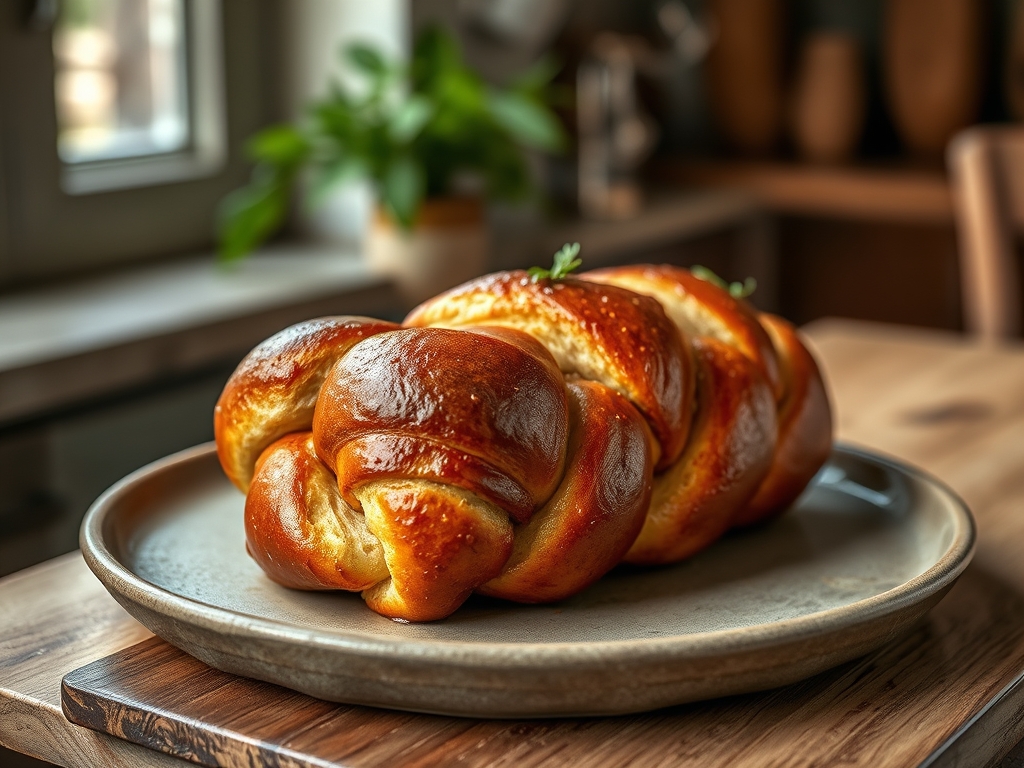
Listen to the sound of a structural collapse. It is the rhythmic, hollow thud of a perfectly proofed crumb meeting the countertop. We are not merely baking; we are conducting a high-stakes audit of lipid-to-protein ratios. The Braided Brioche Loaf is the gold standard of enriched doughs, a buttery monument to the science of elasticity and emulsification. Imagine a crumb so tender it feels like spun silk, yet robust enough to hold its architectural integrity under the weight of a heavy French toast soak. The aroma is a chemical assault of toasted Maillard reactions and fermented esters, filling the room with the scent of professional excellence. This is where the amateur's sticky mess transforms into the artisan's masterpiece. We are looking for a golden, lacquered exterior that shatters upon contact, revealing a pale, cloud-like interior that has been meticulously aerated through controlled yeast respiration. If your kitchen does not currently smell like a high-end Parisian laboratory, your parameters are off. Let us recalibrate your technique and synchronize your variables.
THE DATA MATRIX
| Metric | Specification |
|---|---|
| Prep Time | 45 Minutes |
| Execution Time | 4.5 Hours (including proofing) |
| Yield | 2 Large Loaves |
| Complexity | 8 / 10 |
| Estimated Cost per Serving | $0.85 USD |
THE GATHERS
Ingredient Protocol:
- 500g / 4 cups All-Purpose Flour (11.5% protein minimum)
- 10g / 2 tsp Fine Sea Salt
- 50g / 1/4 cup Granulated Sugar
- 10g / 1 tbsp Instant Yeast
- 100ml / 6 tbsp Whole Milk (lukewarm)
- 4 Large Eggs (room temperature)
- 250g / 1 cup Unsalted European-Style Butter (softened)
- 1 Egg + 15ml / 1 tbsp Heavy Cream (for egg wash)
Section A: Ingredient Quality Audit:
Sub-par raw materials are the primary cause of structural failure in a Braided Brioche Loaf. If your butter has a high water content (typical of budget brands), the dough will become viscous and lose its ability to hold a braid. Fix: Source butter with at least 82% butterfat. If your flour is too low in protein, the helical gluten structures will snap under the weight of the lipids. Fix: Add 10g of vital wheat gluten to your dry mix to reinforce the matrix. If your yeast is sluggish, the fermentation will stall. Fix: Always bloom yeast in warm milk with a pinch of sugar to verify activity before integration.
THE MASTERCLASS
Step 1: The Dry Integration
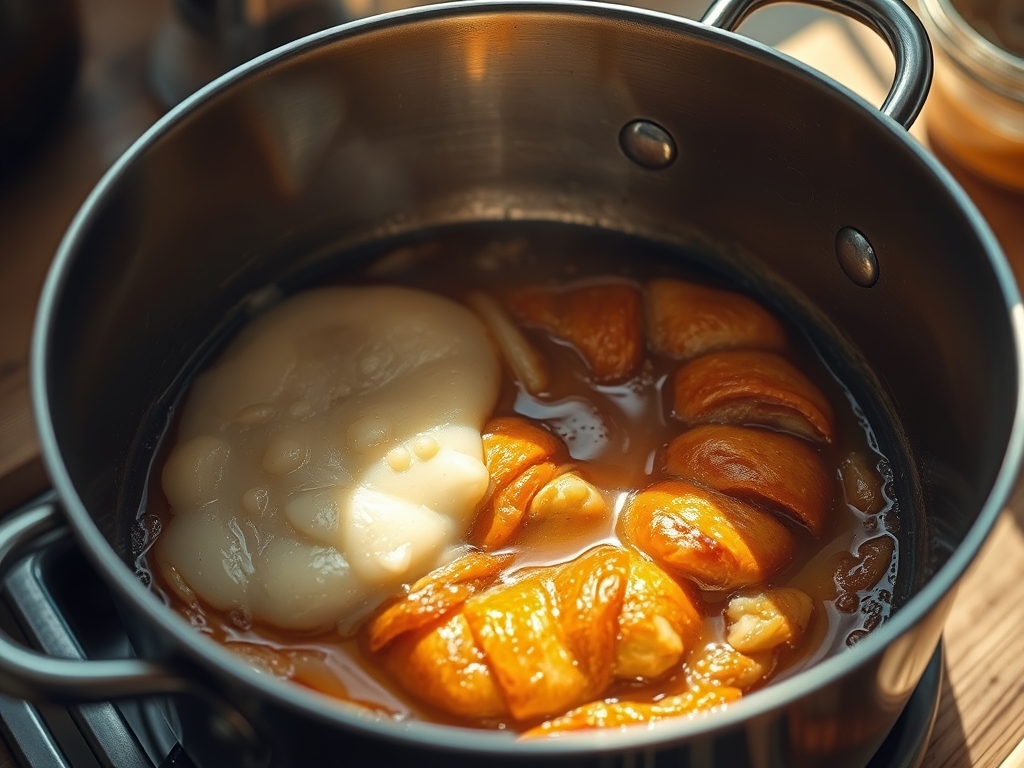
Combine flour, salt, sugar, and yeast in the bowl of a heavy-duty stand mixer. Use a digital scale for these measurements; volumetric displacement is the enemy of consistency. Whisk on low speed to distribute the leavening agent evenly throughout the protein matrix.
Pro Tip: Salt is a yeast inhibitor. By dispersing it into the flour before adding liquids, you prevent a localized high concentration from killing the fungal cells, ensuring a more uniform aerate process.
Step 2: Hydration and Protein Binding
Add the milk and eggs to the dry mixture. Use the dough hook attachment on low speed until a shaggy, cohesive mass forms. Increase speed to medium and knead for 8 to 10 minutes until the dough clears the sides of the bowl and exhibits a strong gluten window.
Pro Tip: Use a bench scraper to clean the sides of the bowl periodically. This ensures every gram of flour is hydrated, preventing "dry pockets" that create structural weak points in the final braid.
Step 3: The Lipid Emulsification
With the mixer running, add the softened butter one tablespoon at a time. Do not rush this process. Wait until each piece is fully incorporated before adding the next. The dough will initially look like it is falling apart; persist until it becomes smooth, shiny, and elastic.
Pro Tip: This is a mechanical emulsion. If the butter is too cold, it will tear the gluten strands; if too warm, it will render and leak out. Aim for 18 degrees Celsius (65 degrees Fahrenheit) for the butter.
Step 4: Primary Fermentation
Transfer the dough to a lightly oiled container. Cover and let rise at room temperature for 1 hour, then refrigerate for at least 4 hours (or overnight). Cold fermentation slows yeast activity but allows for superior flavor development and makes the high-fat dough easier to handle.
Pro Tip: Cold dough is a structural necessity for braiding. The solidified butterfat acts as a temporary stabilizer, allowing you to manipulate the strands without the dough tearing or becoming overly viscous.
Step 5: The Helical Construction
Divide the chilled dough into three equal portions using your digital scale. Roll each into a 14-inch cylinder. Pinch the tops together and perform a standard three-strand braid, tucking the ends underneath. Place in a greased loaf pan for the final proof.
Pro Tip: Do not use excess flour during shaping. Flour acts as a barrier, preventing the strands from fusing properly. If the dough sticks, use the smallest possible dusting or a light coating of oil on your hands.
Step 6: Thermal Transformation
Brush the loaf with the egg and cream mixture. Bake at 190 degrees Celsius (375 degrees Fahrenheit) for 30 to 35 minutes. The internal temperature must register 88 degrees Celsius (190 degrees Fahrenheit) on an instant-read thermometer to ensure the center is fully set.
Pro Tip: Rotation is key. Use a digital oven thermometer to identify hot spots. Rotate the pan 180 degrees halfway through the bake to achieve that uniform, deep mahogany finish seen in professional audits.
Section B: Prep & Timing Fault-Lines:
The most common human error is "Over-Proofing." If the dough rises too much before entering the oven, the gas bubbles will expand and burst, causing the loaf to collapse. Fix: The dough should be doubled in size and spring back slowly when poked. If it leaves a permanent indentation, get it into the oven immediately. Another fault-line is "Butter Separation." If the kitchen is too hot, the butter will melt out of the dough. Fix: Perform all shaping on a chilled granite surface or a cold baking sheet if possible.
THE VISUAL SPECTRUM
Section C: Thermal & Visual Troubleshooting:
The Masterclass photo displays a specific high-gloss finish. If your loaf looks dull, your egg wash lacked sufficient fat. Fix: Use only egg yolks and heavy cream for a more intense lacquer. If the braid "tears" at the seams, the oven spring was too aggressive. Fix: Increase your final proof time or lower the initial oven temperature by 10 degrees. If the bottom is burnt while the top is pale, your rack position is too low. Move the loaf to the center of the oven to balance the convective heat flow.
THE DEEP DIVE
Macro Nutrition Profile:
A standard slice (approx. 60g) contains roughly 240 calories, 12g fat, 28g carbohydrates, and 6g protein. The high fat content provides a low glycemic index compared to lean breads, but the caloric density is significant.
Dietary Swaps:
For a Vegan variant, replace butter with a high-quality plant-based block (minimum 80% fat) and use aquafaba for the egg wash. For Gluten-Free, a high-protein GF flour blend with added xanthan gum is required, though the helical structure will be less defined due to the lack of true gluten elasticity.
Meal Prep & Reheating Science:
To maintain the molecular structure, store the loaf in a sealed linen bag at room temperature for up to 3 days. To reheat, avoid the microwave as it causes "starch retrogradation" (making the bread rubbery). Instead, use a toaster oven at 150 degrees Celsius to gently re-liquefy the butterfat and crisp the crust.
THE KITCHEN TABLE
Why is my brioche dense instead of fluffy?
Density usually indicates under-proofing or insufficient kneading. If the gluten matrix isn't fully developed, it cannot trap the carbon dioxide produced by the yeast. Ensure you achieve a "windowpane" effect during the initial mixing stage.
Can I use a bread machine for this?
You can use the "Dough" setting for the initial mix and first rise. However, the manual addition of butter is critical. If the machine dumps all the butter at once, the emulsion will fail. Add it manually during the cycle.
Why did my braid unravel in the oven?
This is caused by tension failure. If the strands are not tucked tightly under the loaf or if the dough was too dry to "stick" to itself, the oven spring will force the braid apart.
How do I get that deep mahogany color?
The color comes from the Maillard reaction, which is accelerated by the sugars in the egg wash. For the darkest possible finish, brush the loaf once before the final proof and again immediately before baking.