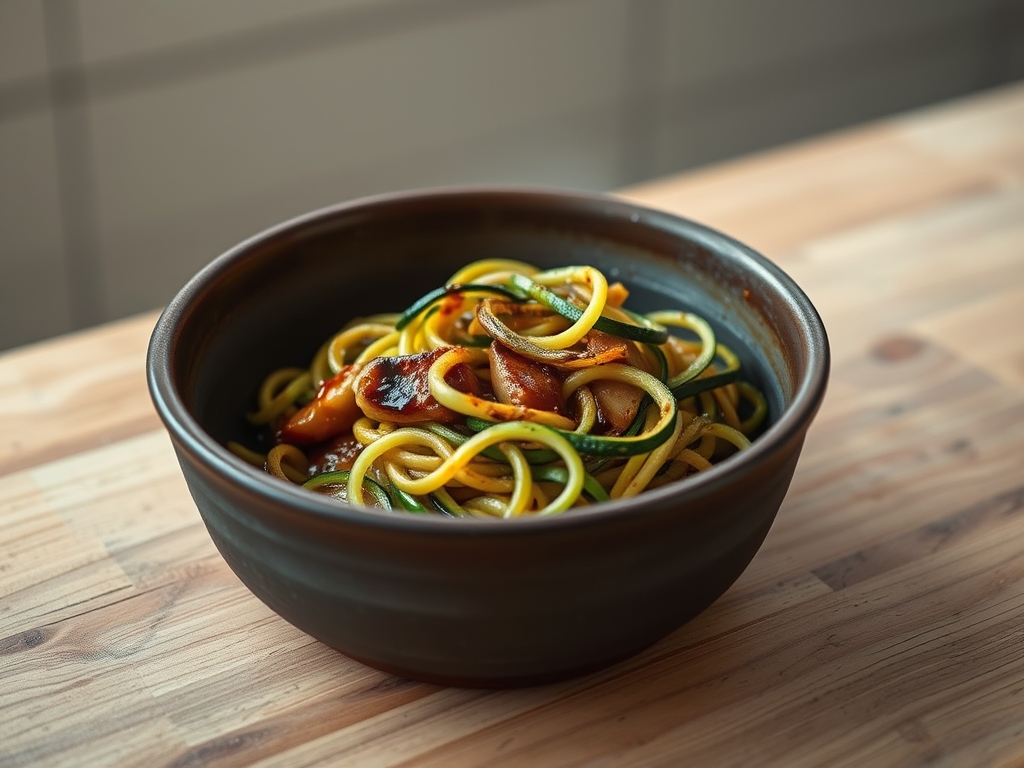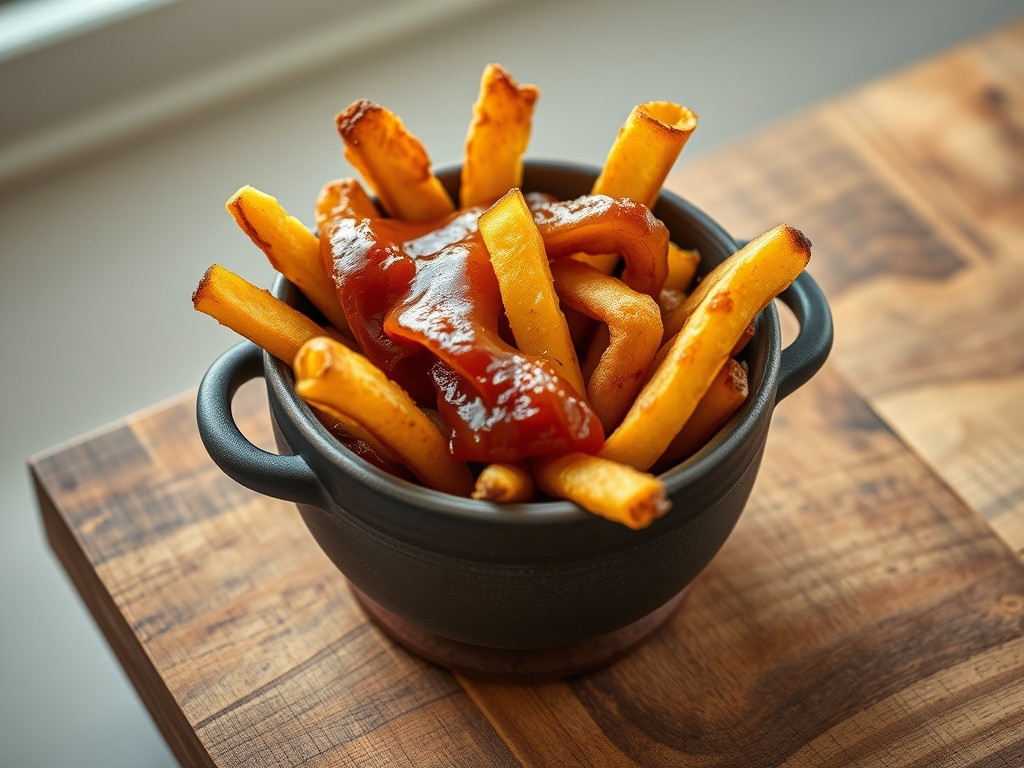
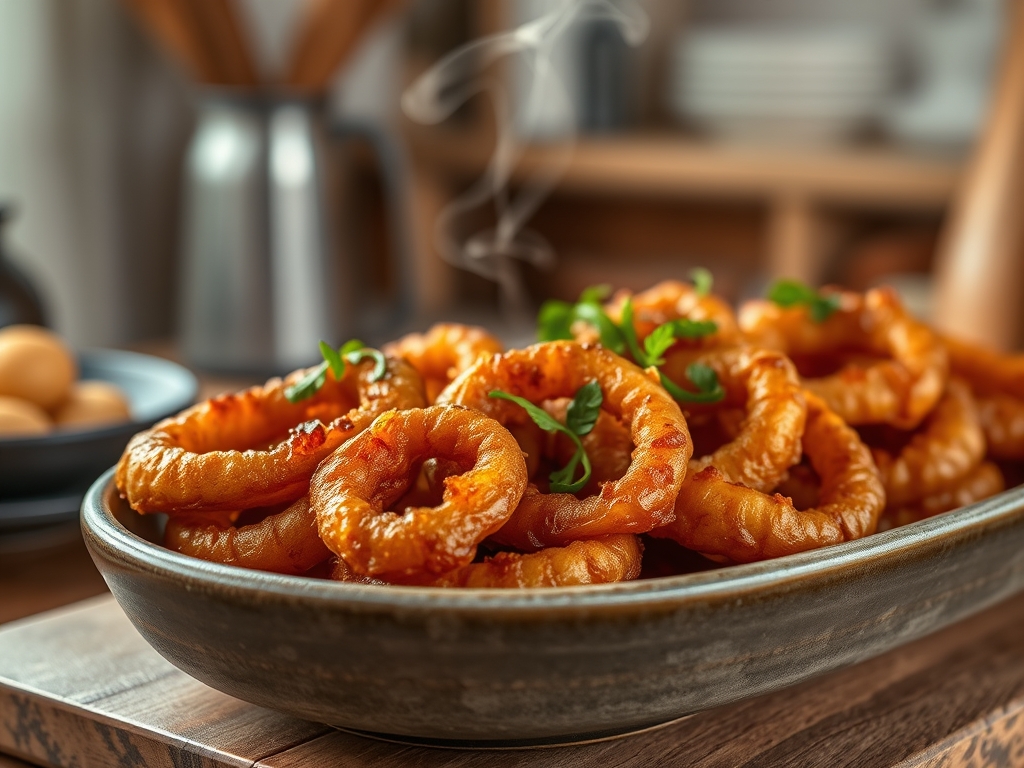
Listen up, kitchen operatives. We are moving beyond the pedestrian circles of the standard burger joint and entering the realm of high-performance vegetable architecture. The subject of today's structural audit is the Curly Onion Rings; a dish that demands more than just a deep fryer and a prayer. We are looking for a specific structural integrity: a shatter-crisp exterior that protects a soft, translucent, and sweet interior. When you bite into a superior ring, the onion should not slide out like a wet noodle. It should yield perfectly to the teeth, encased in a golden, aerated shroud of batter that has undergone a complete Maillard transformation. We are talking about the piquant snap of a Vidalia combined with the viscous luxury of a buttermilk-based coating. If your current results are limp, greasy, or shedding their skins like a molting reptile, you are failing the audit. It is time to recalibrate your station, sharpen your knives, and master the helical geometry of the perfect snack.
THE DATA MATRIX
| Metric | Specification |
|---|---|
| Prep Time | 25 mins |
| Execution Time | 15 mins |
| Yield | 4 Servings |
| Complexity | 6/10 |
| Estimated Cost per Serving | $1.25 |
THE GATHERS
Ingredient Protocol:
- 2 Large Yellow or Vidalia Onions (approx. 600g / 1.3 lbs)
- All-purpose flour (250g / 2 cups)
- Cornstarch (60g / 0.5 cup)
- Baking powder (5g / 1 tsp)
- Cold Buttermilk (350ml / 1.5 cups)
- Large Egg (1 unit / 50g)
- Smoked Paprika (3g / 1 tsp)
- Cayenne pepper (1g / 0.25 tsp)
- Kosher salt (10g / 2 tsp)
- High-smoke point oil (Neutral vegetable or Peanut oil)
Section A: Ingredient Quality Audit:
The primary failure point in most onion ring protocols is moisture management. If your onions are weeping before they hit the batter, the coating will slide off during the fry. Audit Fix: If your onions feel soft or "leathery," soak them in ice water for thirty minutes to restore turgidity, then dry them obsessively. If your buttermilk lacks the necessary viscous cling, whisk in a tablespoon of Greek yogurt to increase the protein density. Finally, check your baking powder. If it does not fizz instantly when dropped into hot water, your batter will lack the necessary lift, resulting in a dense, leaden crust rather than an aerated shell.
THE MASTERCLASS
1. Precision Slicing and Separation
Peel the onions and slice them into 1cm rounds using a sharp chef knife or a mandoline for absolute uniformity. Carefully separate the rings, discarding the small, tight heart of the onion or saving it for a mirepoix.
Pro Tip: Use a bench scraper to move your sliced rings without bruising the cellular structure. Maintaining the physical integrity of the ring is essential for even batter distribution.
2. The Dry Dredge Calibration
In a wide shallow bowl, combine half of the flour with the salt and spices. Toss the dry onion rings in this mixture until they are completely matte. This creates a "primer" layer that allows the wet batter to bond to the slick surface of the onion.
Pro Tip: Use a digital scale to measure your dry ingredients. Volumetric measurements are for amateurs; weight-based ratios ensure that your crust-to-onion ratio remains consistent across every batch.
3. Batter Emulsification
Whisk the remaining flour, cornstarch, baking powder, egg, and buttermilk in a saucier or deep bowl until just combined. Do not overmix. A few small lumps are acceptable; overworking the batter develops gluten, which leads to a chewy, bread-like texture rather than a crisp one.
Pro Tip: The cornstarch interferes with gluten development and lowers the pH, ensuring the rings stay crisp for a longer duration after they leave the oil.
4. Thermal Immersion
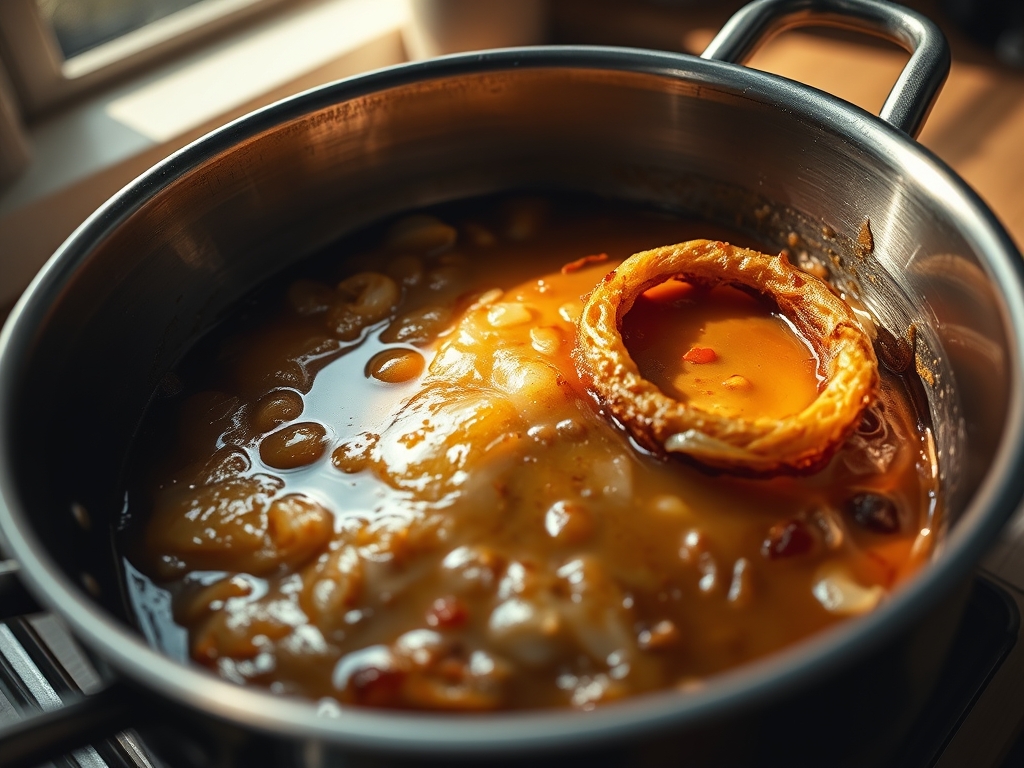
Heat your oil to exactly 190C (375F). Dip the floured rings into the wet batter, let the excess drip off for two seconds, and drop them carefully into the oil. Do not crowd the pot; temperature drops are the enemy of the crisp.
Pro Tip: Use an infrared thermometer or a probe to monitor the oil. If the temperature dips below 170C, the batter will absorb oil rather than sealing, resulting in a greasy failure.
5. The Recovery and Seasoning
Fry for 2 to 3 minutes per side until the visual spectrum hits "Deep Amber." Use a wire spider to remove the rings and place them immediately on a wire cooling rack set over a sheet pan. Season with additional salt while the surface oil is still infuse-ready.
Pro Tip: Never drain on paper towels. The steam trapped between the towel and the ring will hydrate the crust, turning your hard-earned crunch into a soggy mess within sixty seconds.
Section B: Prep & Timing Fault-Lines:
The most common human error is the "Batch Lag." If you batter all your onions at once and let them sit, the salt in the flour will draw moisture out of the onion, liquefying the batter from the inside out. This is known as "weeping." Audit Fix: Only batter what you can fry immediately. Another timing error is the "Cold Shock." If your buttermilk is not ice-cold when it hits the hot oil, the steam expansion will be sluggish, resulting in a flat, sad coating. Keep your batter bowl nestled in a larger bowl of ice to maintain the thermal differential.
THE VISUAL SPECTRUM
Section C: Thermal & Visual Troubleshooting:
Look at the reference image above. Notice the "cratered" texture on the surface of the Curly Onion Rings. This is the result of rapid steam escape. If your rings are smooth like a pancake, your oil was too cold or your batter was too thin. If you see dark brown spots but the onion inside is still raw and crunchy, your oil is too hot; the sugars are burning before the heat can render the onion's sulfur compounds into sweetness. The color should be a uniform, radiant gold. If the rings look "dull" or greyish, your oil is likely old and oxidized. Always use fresh oil for a high-visibility audit like this.
THE DEEP DIVE
Macro Nutrition Profile:
A standard serving of these rings contains approximately 350 calories, 18g of fat, 42g of carbohydrates, and 5g of protein. While not a "health food," the use of buttermilk provides a slight calcium and riboflavin boost.
Dietary Swaps:
- Vegan: Replace buttermilk with soy milk mixed with 1 tablespoon of apple cider vinegar. Use a "flax egg" or simply omit the egg and increase the baking powder by half a teaspoon.
- Keto: Replace flour with almond flour and whey protein isolate. Use heavy cream instead of buttermilk.
- Gluten-Free: Substitute the all-purpose flour with a 1:1 GF blend that contains xantham gum. The cornstarch is already gluten-free and provides excellent structure.
Meal Prep & Reheating Science:
To maintain molecular structure, never microwave a leftover onion ring. The microwave vibrates water molecules, which turns the crust into a sponge. Instead, use an air fryer or oven at 200C (400F) for three minutes. This flashes the surface oil and re-crisps the starch matrix without overcooking the onion.
THE KITCHEN TABLE
Why is my batter falling off the onion?
The onion's surface is naturally hydrophobic. If you skip the dry flour "primer" step, the wet batter has nothing to grip. Ensure the onion is bone-dry before the first dredge to ensure maximum adhesion.
Can I use beer instead of buttermilk?
Absolutely. The carbonation in beer provides additional aeration and the sugars contribute to a faster Maillard reaction. However, buttermilk provides a superior "tang" that cuts through the fat of the frying process.
What is the best onion for this audit?
Vidalia or Walla Walla onions are the gold standard. Their high sugar and water content allows them to caramelize beautifully inside the batter shroud, providing a sweet contrast to the piquant, salty crust.
How do I keep the oil clean?
Use a fine-mesh skimmer to remove "floaties" (loose bits of batter) between batches. If these bits remain, they burn and impart a bitter, carbonized flavor to the oil, ruining the visual and flavor profile of subsequent rings.