Listen to the sound of structural failure. It is the dull, muffled thud of a dense pastry hitting a plate; a tragedy of collapsed air pockets and saturated fats. Now, listen to the sound of a successful Croissant Spiral Audit. It is the high frequency shatter of thousand-layer glass. It is a tectonic shift of butter and gluten. We are not just baking; we are conducting a high-stakes engineering project where the blueprint is written in protein strands and lipid barriers. The spiral is the ultimate test of your culinary infrastructure. If your lamination is sloppy, the heat will turn your masterpiece into a greasy puddle. If your tension is too tight, the dough will choke itself into a bready knot. We demand a helical flake so precise it looks like it was drafted by an architect and executed by a jeweler. Welcome to the audit. We are here to strip away the amateur fluff and rebuild your technique from the molecular level up.
THE DATA MATRIX
| Metric | Specification |
|---|---|
| Prep Time | 45 Minutes (Active) |
| Execution Time | 18 to 24 Hours (Including Resting) |
| Yield | 12 Precise Spirals |
| Complexity (1-10) | 9 (Structural Integrity Critical) |
| Estimated Cost per Serving | $1.15 / 0.85 Pounds |
THE GATHERS
Ingredient Protocol:
- 500g / 4 cups Bread Flour (High Protein Content)
- 60g / 1/4 cup Granulated Sugar
- 10g / 2 tsp Fine Sea Salt
- 10g / 1 tbsp Instant Yeast
- 300ml / 1.25 cups Whole Milk (Chilled)
- 50g / 3.5 tbsp Unsalted Butter (Softened for Dough)
- 250g / 1.1 cups High-Fat European Style Butter (82% Fat Minimum for Laminating)
- 1 Large Egg (For Protein-Rich Wash)
Section A: Ingredient Quality Audit:
The primary point of failure in the Croissant Spiral Audit is often the water content of the butter. Standard grocery store butter contains too much moisture; when this water turns to steam in the oven, it creates large, erratic holes rather than delicate flakes. Technical Fix: Source "dry" butter with at least 82 to 84 percent butterfat. If your flour lacks a protein percentage of at least 12 percent, your gluten network will fail to aerate, leading to a collapsed spiral. Add 10g of vital wheat gluten to lower-protein flours to reinforce the infrastructure. Finally, ensure your milk is cold; heat is the enemy of the lamination phase.
THE MASTERCLASS
Step 1: The Detrempe Construction
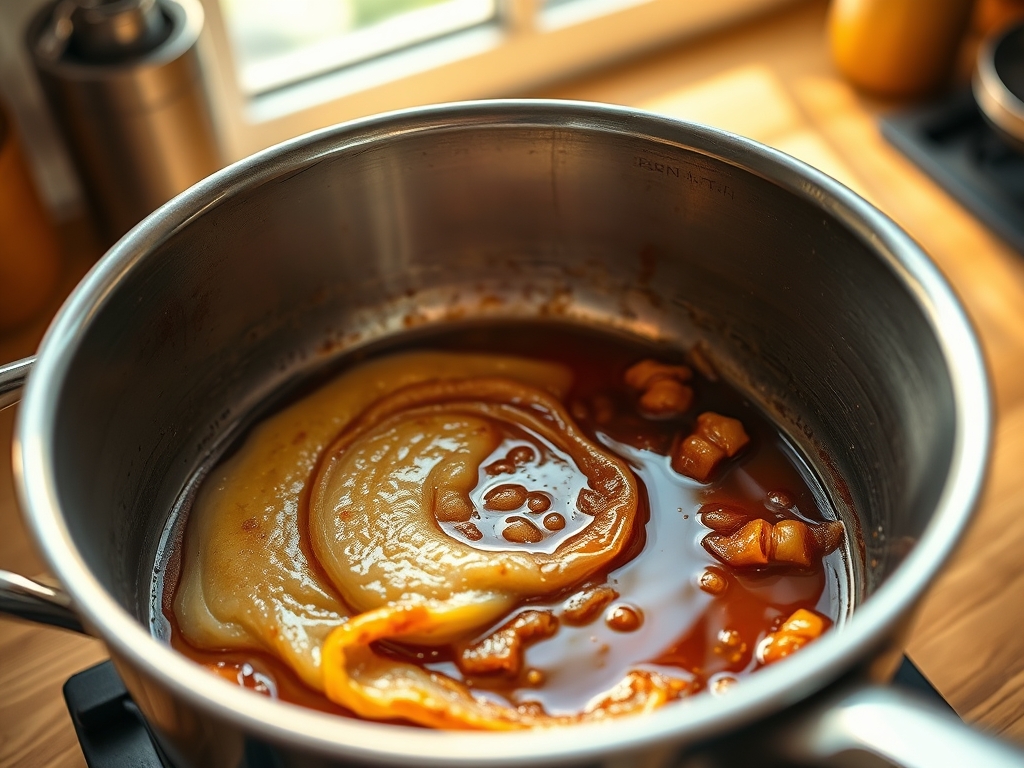
Combine your flour, sugar, salt, yeast, and softened butter in a stand mixer. Slowly infuse the chilled milk into the dry components. Mix on low speed until a shaggy mass forms. Do not overwork the dough at this stage; you want to develop just enough strength to hold the butter, not create a tough bread.
Pro Tip: Use a digital scale for every gram. Volumetric measurements are the hallmark of the uninitiated. Precision in the initial hydration ensures the dough remains extensible during the rolling process.
Step 2: The Butter Block (Beurrage)
Place your cold, high-fat butter between two sheets of parchment paper. Use a heavy rolling pin to pound it into a perfect 7-inch square. It must be pliable but cold; a state known as plastic. If it snaps, it is too cold. If it is viscous, it is too warm.
Pro Tip: A bench scraper is essential here to square off the edges. Perfectly straight edges on your butter block prevent "empty" dough corners where no lamination occurs.
Step 3: The Enveloping and First Turn
Roll your dough into a square slightly larger than the butter. Place the butter at a 45-degree angle on the dough and fold the corners over like an envelope. Roll the package into a long rectangle and perform a "letter fold." This creates your first three layers.
Pro Tip: Use a rolling pin with offset rings to ensure an even thickness across the entire sheet. Uneven pressure leads to "butter bursts" where the fat leaks through the gluten skin.
Step 4: The Geometric Lamination
Repeat the folding process two more times, with 30-minute rests in the refrigerator between each turn. This resting period allows the gluten to relax and the butter to re-solidify. By the end, you will have 27 distinct layers of butter separated by 28 layers of dough.
Pro Tip: If the dough resists, stop immediately. Forcing a cold dough will tear the microscopic butter sheets. Use a laser thermometer to ensure the dough surface stays between 40 and 45 degrees Fahrenheit.
Step 5: The Spiral Formation
Roll the final dough to a 4mm thickness. Cut long, thin strips approximately 1 inch wide. Roll these strips tightly into a helical shape, ensuring the "tail" is tucked firmly underneath. Place them into buttered metal rings to force upward expansion.
Pro Tip: A pizza wheel or pastry cutter provides the cleanest edge. A dull knife will "smear" the layers together, effectively welding them shut and preventing the signature flake.
Step 6: The Proof and Thermal Execution
Proof the spirals at 78 degrees Fahrenheit for two hours. They should wobble like gelatin when shaken. Brush with egg wash and bake at 400 degrees Fahrenheit for 10 minutes, then drop to 350 for another 15 minutes to render the fat and stabilize the crumb.
Pro Tip: Use a heavy-gauge baking steel or stone. This provides the massive thermal dump required to flash-boil the water in the butter, creating the instantaneous lift known as oven spring.
Section B: Prep & Timing Fault-Lines:
Timing is the silent killer. If you proof the dough in a room that is too hot (above 82 degrees), the butter will melt out of the layers before the structure sets. You will be left with a fried dough puck. Conversely, under-proofing results in a "dense core" where the center of the spiral remains raw and doughy. Always use the "jiggle test" to verify fermentation. If the dough does not move like a cloud, it needs more time.
THE VISUAL SPECTRUM
Section C: Thermal & Visual Troubleshooting:
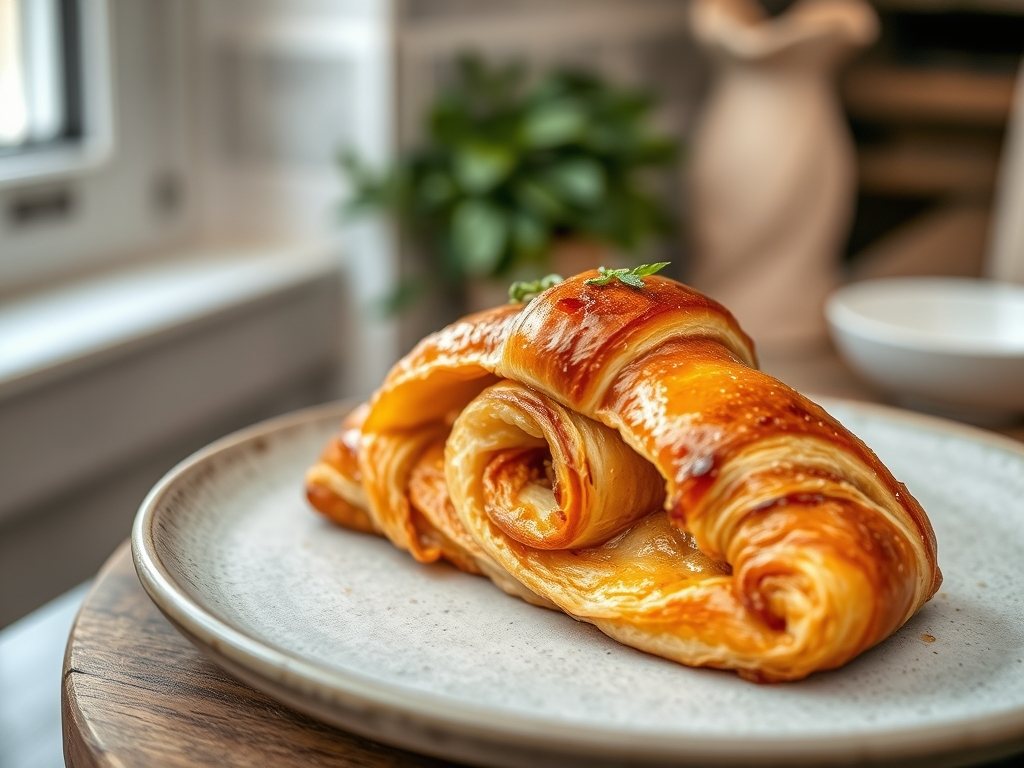
Referencing the Masterclass photo, look for the "Honeycomb" cross-section. If your spirals show "clumping" or thick, bready walls, your lamination was too warm. If the exterior is a pale yellow rather than a deep, burnished mahogany, you failed to trigger the Maillard reaction. This is often due to a lack of steam in the oven or an insufficient egg wash. If the spiral has "unraveled" during the bake, your tension during the rolling phase was inconsistent. The goal is a tight, concentric circle that expands vertically, not horizontally. Dull color usually indicates old yeast or a cold oven start; the heat must be aggressive and immediate.
THE DEEP DIVE
Macro Nutrition Profile:
Each spiral is a concentrated energy cell. Expect approximately 380 calories, with 22g of fats (primarily saturated), 38g of carbohydrates, and 6g of protein. This is a high-density fuel source designed for sensory impact, not caloric deficit.
Dietary Swaps:
- Vegan: Replace butter with a high-quality vegan block (oil-based with a high melting point) and use soy milk. Note that the "shatter" will be less pronounced.
- Keto: Currently impossible to achieve a true helical flake without gluten and starch infrastructure.
- Gluten-Free: Use a high-quality 1-to-1 flour blend with added xanthan gum, though the elasticity required for the spiral is significantly diminished.
Meal Prep & Reheating Science:
To maintain the molecular structure, never microwave a croissant spiral. The microwave agitates water molecules, turning the starch "rubbery." Instead, use a convection oven at 325 degrees Fahrenheit for 5 minutes. This re-crystallizes the fats and crisps the gluten walls.
THE KITCHEN TABLE
Why did my butter leak out during baking?
Your proofing temperature was too high or your oven was too cold. If the butter melts before the gluten structure sets, it has nowhere to go but out onto the tray.
Can I freeze the dough before the final bake?
Yes. Freeze them immediately after shaping. When ready to use, thaw in the fridge overnight and proof as normal. The yeast survives the freeze-thaw cycle if the duration is under two weeks.
Why is the center of my spiral doughy?
This is a thermal conduction failure. The exterior set before the heat could penetrate the core. Lower your oven temperature by 15 degrees and extend the bake time to ensure total moisture evaporation.
What is the best way to get a shiny finish?
Mix your egg wash with a pinch of salt and a splash of heavy cream. The salt breaks down the egg proteins for a smoother spread, while the cream sugars enhance the browning.